Update 31st January 2025: Please be aware that the VMware Documentation site has been migrated to it's new home at Broadcom TechDocs. As a result of this, I have been informed that some external links in this site no longer function correctly. If you do find a broken link before it is replaced, please reach out via social media and let me know!
Warning! The content within this article is over 36 months old and, therefore, may be out of date.
HOWTO: Install the VMware vRealize Automation 6.x IaaS Prerequisites
Share this article on:


VMware vRealize Automation VCAP6 VCAP6-CMA
Published on 11 January 2017 by Christopher Lewis. Words: 1209. Reading Time: 6 mins.
Introduction
This post is a part of a series of posts for preparation for the VCAP6-CMA Deploy exam. For the full exam prep resources check here .
Note:
Let’s be clear everyone tends to use Brian Graf’s vRA6 IaaS Prerequisite script (available via
github
) in real life but we need to understand what the manual process is too so that in the event of a configuration issue, we have a better chance to understand when a configuration is wrong.
Prerequisites
- Deploy a Windows Virtual Machine to be used as a IaaS Server.
- Download Oracle JAVA JRE (supported version)
Configuration Overview
The high level configuration steps for this server are:
- Configure the vRealize Automation Service Account permissions
- Install Microsoft IIS
- Configure Microsoft IIS
- Configure Loopback Check Registry Setting (for Distributed only)
- Configure Secondary Logon Service
- Configure User Rights Assignment
- Configure MS DTC
- Configure the Windows Firewall
- Install and Configure Oracle JRE
- Install the IaaS SSL Certificate
- Reboot the IaaS Server
Step by Step Instructions
Configure the vRealize Automation Service Account permissions
- Connect to the server either via VMware Remote Control or via Microsoft Remote Desktop Services using an account with administrative privileges.
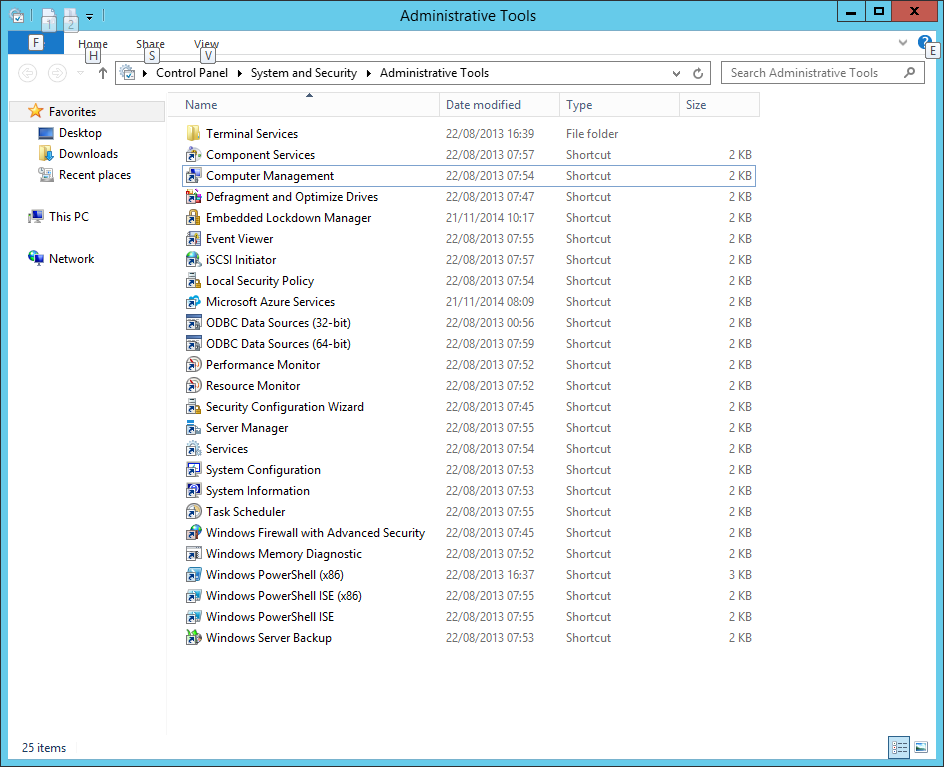
- Click Start and then click Administrative Tools.
- Double click Computer Management.
- Click on Local Users and Groups.
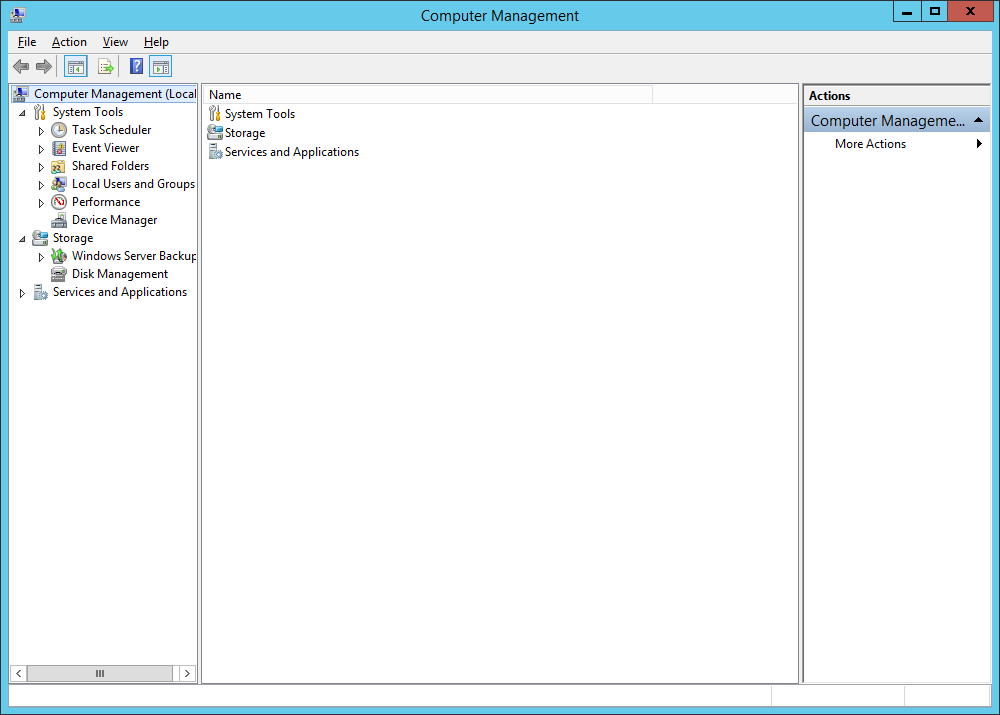
- Double click on Groups.
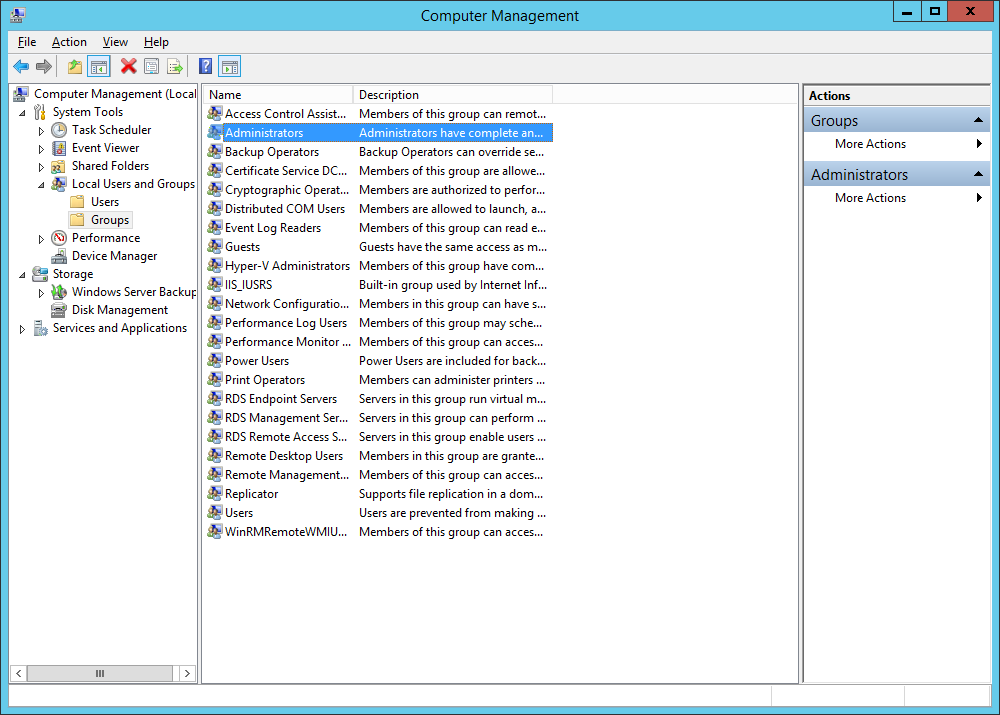
- Double click on Administrators.
- Click Add.
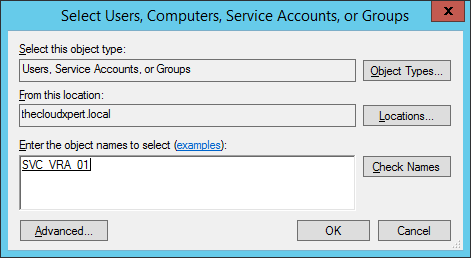
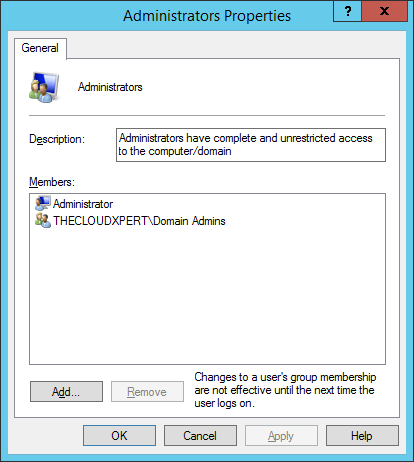
- Type in the VRA Service account name, click Check Names and then click OK.
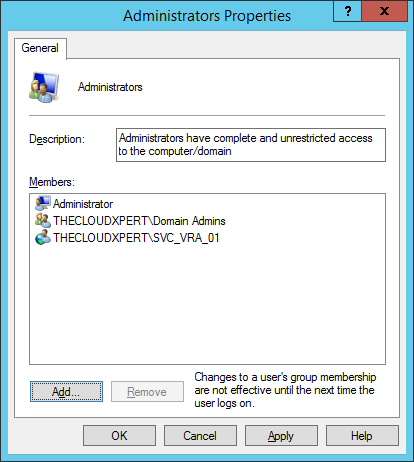
- Click Apply and then click OK.
- Log out of the Administrator account and log back in with the vRealize Automation Service Account.
Install Microsoft Internet Information Services (IIS)
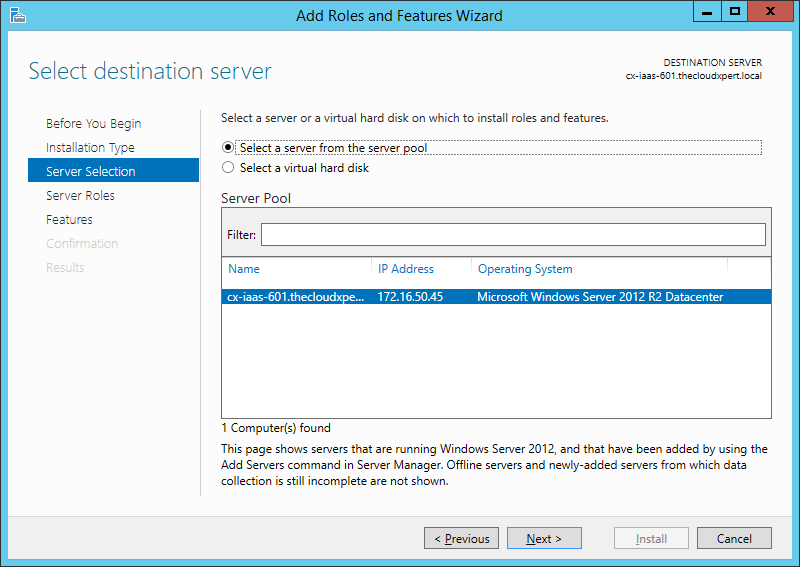
- Open Server Manager, click Manage and then click Add Roles and Features.
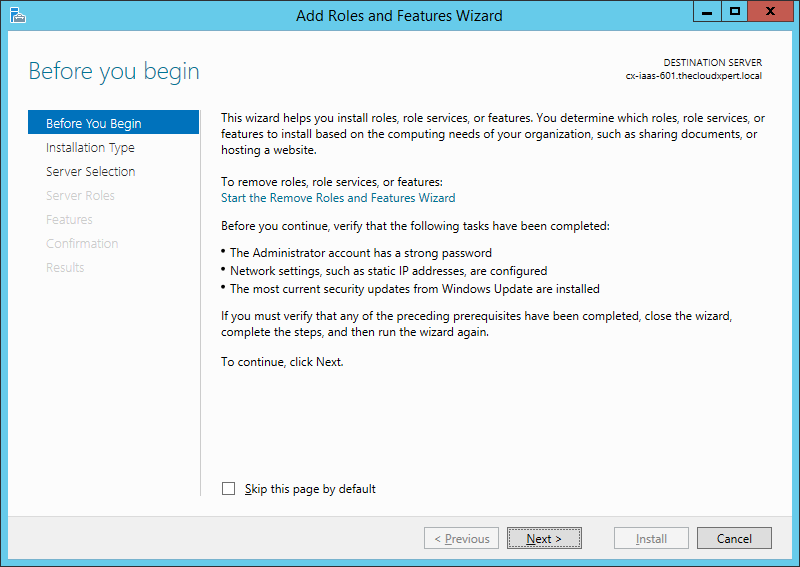
- Click Next.
- Click Next.
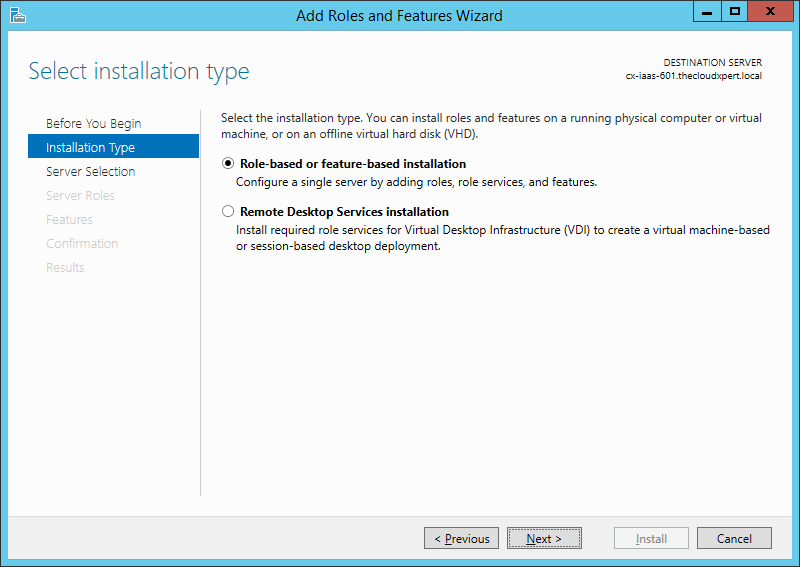
- Click Next.
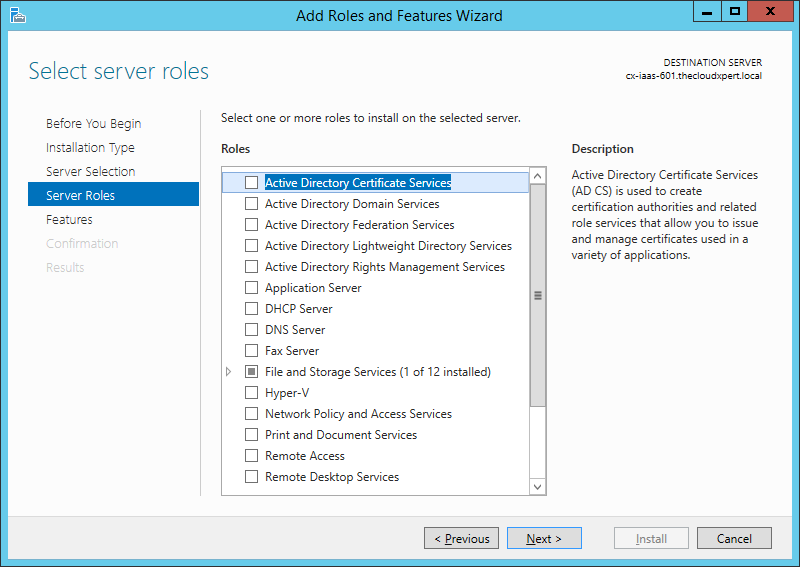
- Check the Web Server (IIS) role.
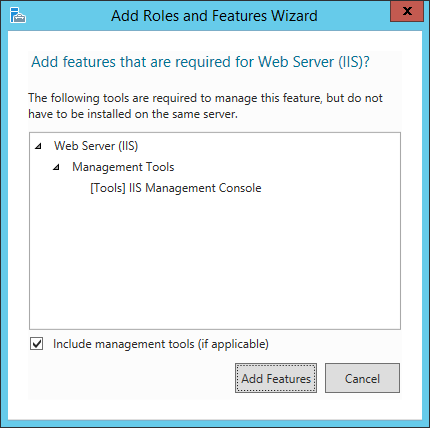
- Click Add Features.
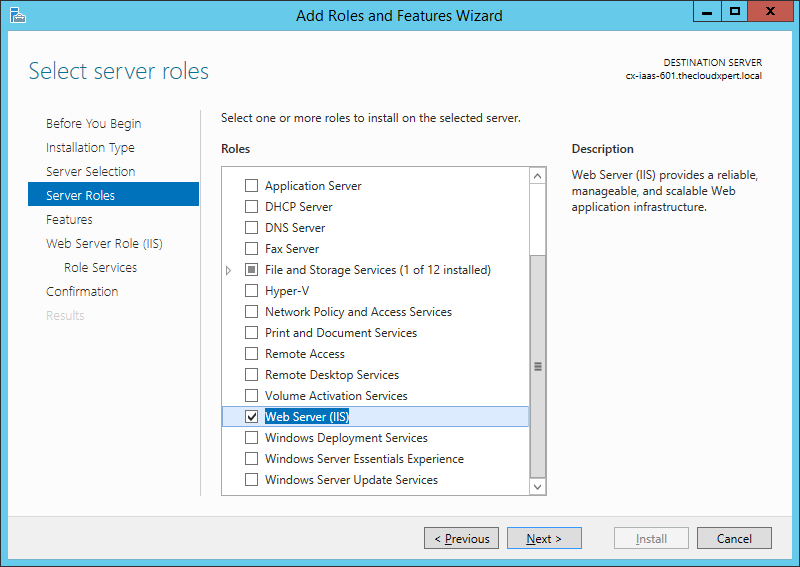
- Click Next.
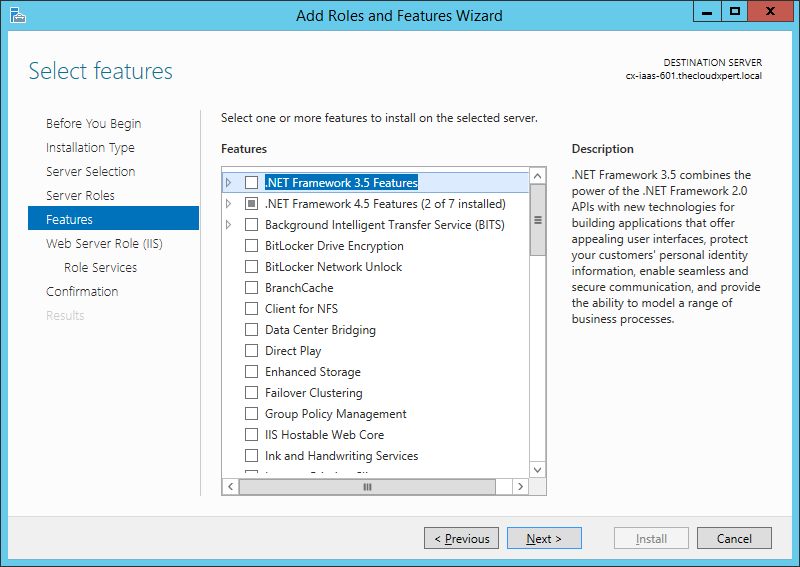
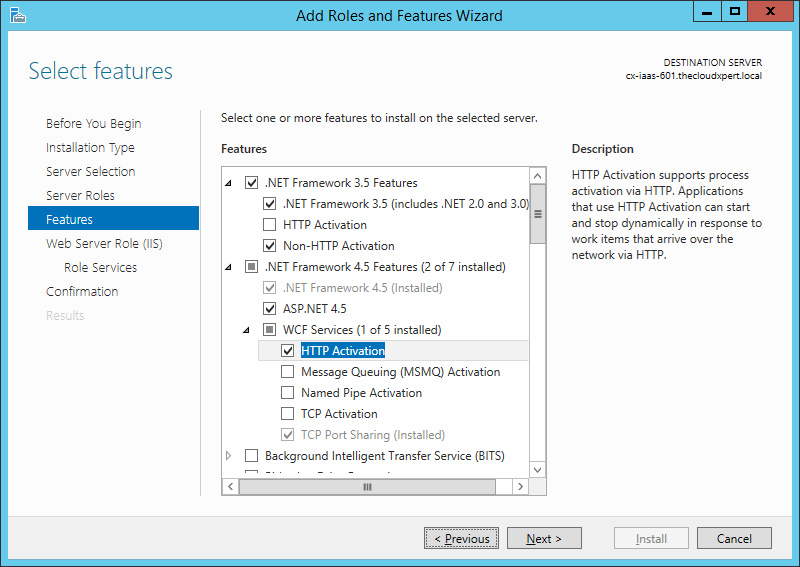
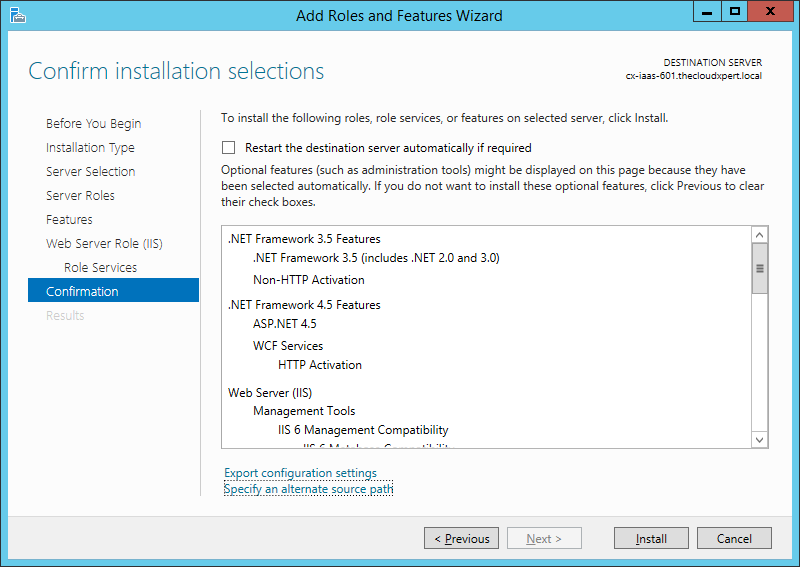
- Expand .NET Framework 3.5 Features and check both the NET Framework 3.5 (includes .NET 2.0 and 3.0) checkbox and Non-HTTP Activation checkbox.
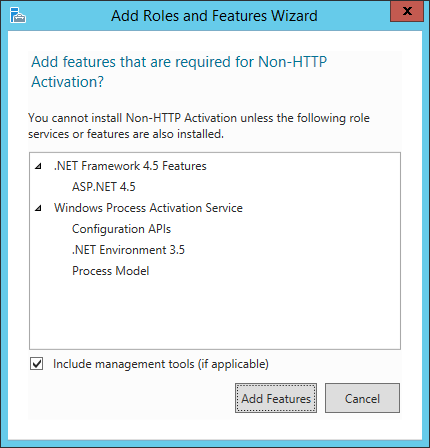
- Click Add Features.
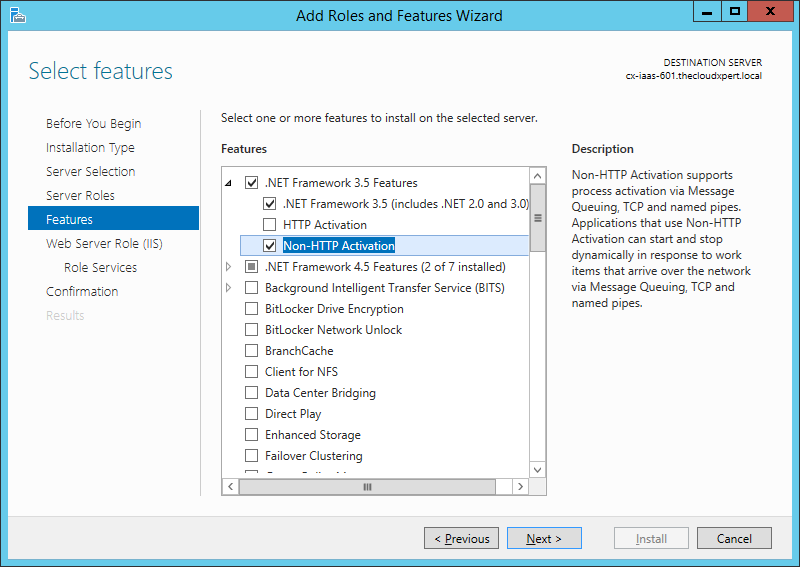
- Expand .NET Framework 4.5 Features and ensure the ASP.NET 4.5 checkbox is checked.

- Expand the WCF Services feature and check the HTTP Activation checkbox.
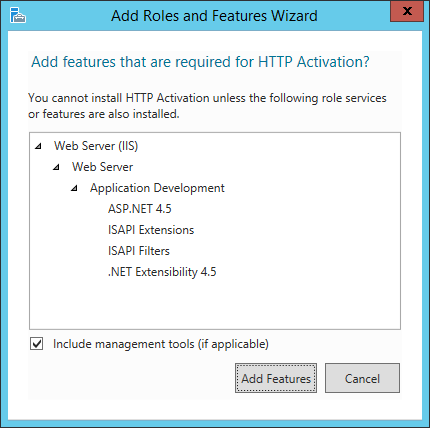
- Click Add Features
- Click Next.
- Click Next.
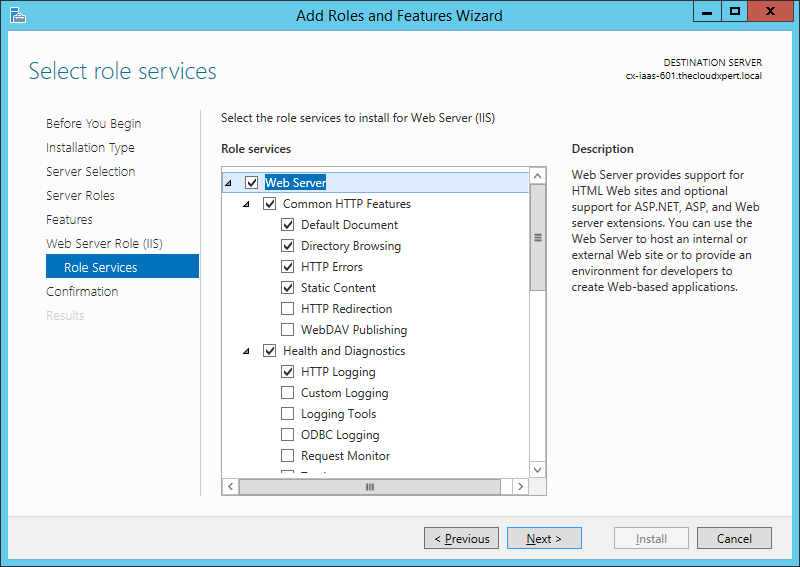
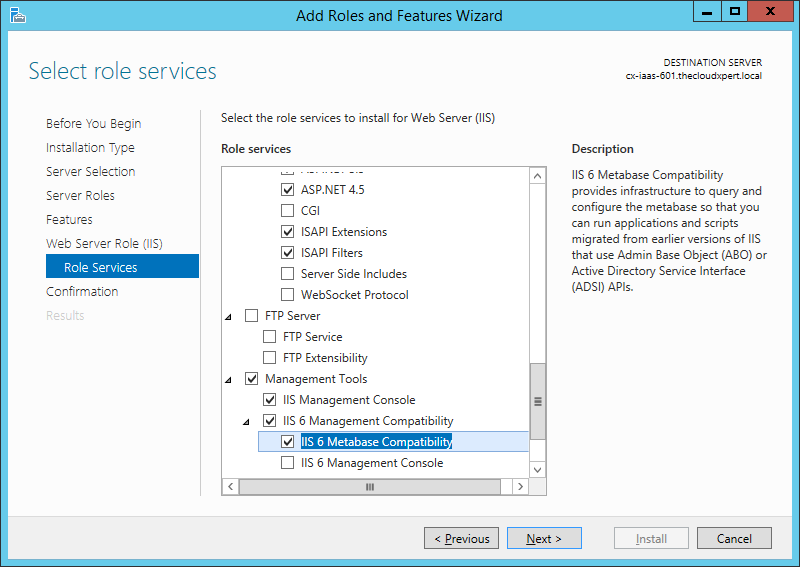
- Check the following additional Role Services check boxes:
- Web Server > Common HTTP Features > HTTP Redirection
- Security > Windows Authentication
- Application Development > .NET Extensibility 3.5
- Application Development > ASP.NET 3.5
- Management Tools > IIS 6 Management Compatibility > IIS 6 Metabase Compatibility
- Click Next.
Note:
You may need to specify a new alternate source path if you have changed the drive letter of your cd-rom drive.
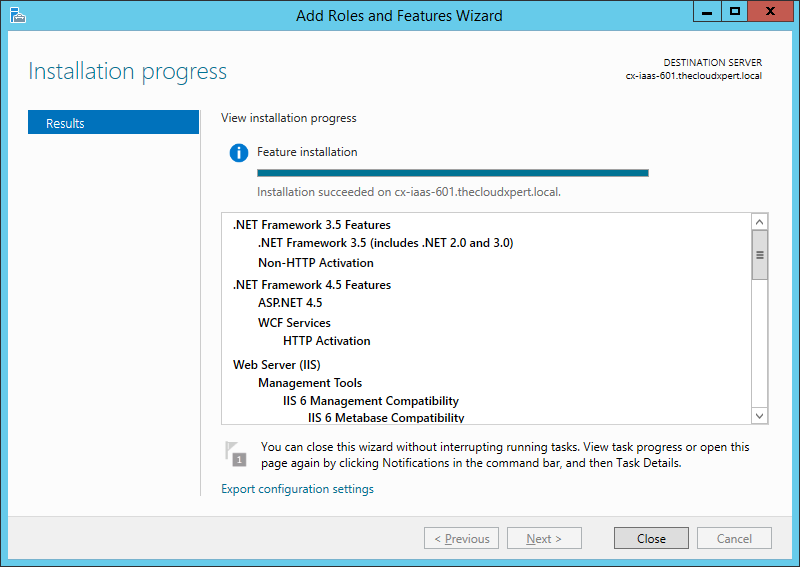
- Click Install.
Configure Microsoft IIS
- Navigate to Start > Administrative Tools > Internet Information Services (IIS) Manager.
- Expand <HOSTNAME>, then Sites and select the Default Web Site.
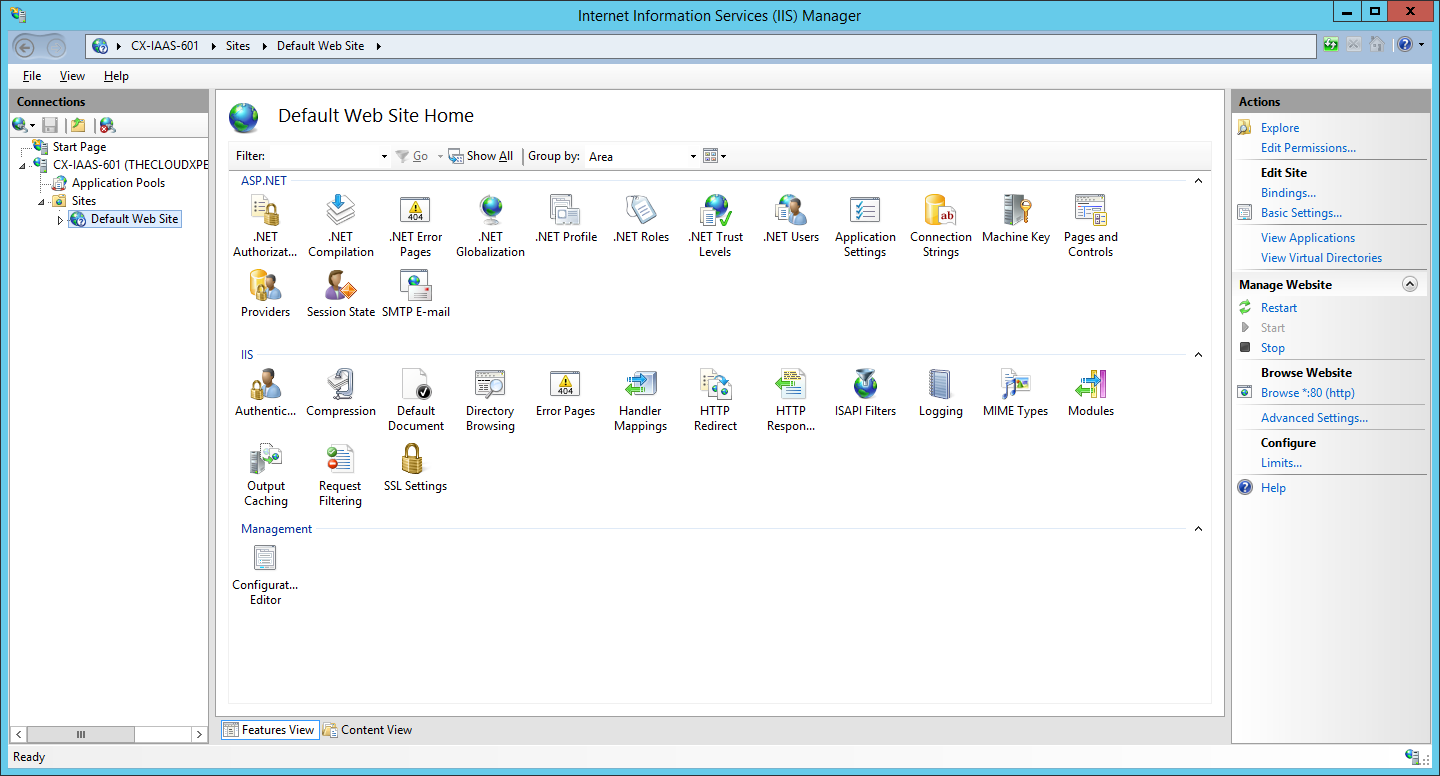
- Under Connections ensure that the Default Web Site is selected and then double click on Authentication.
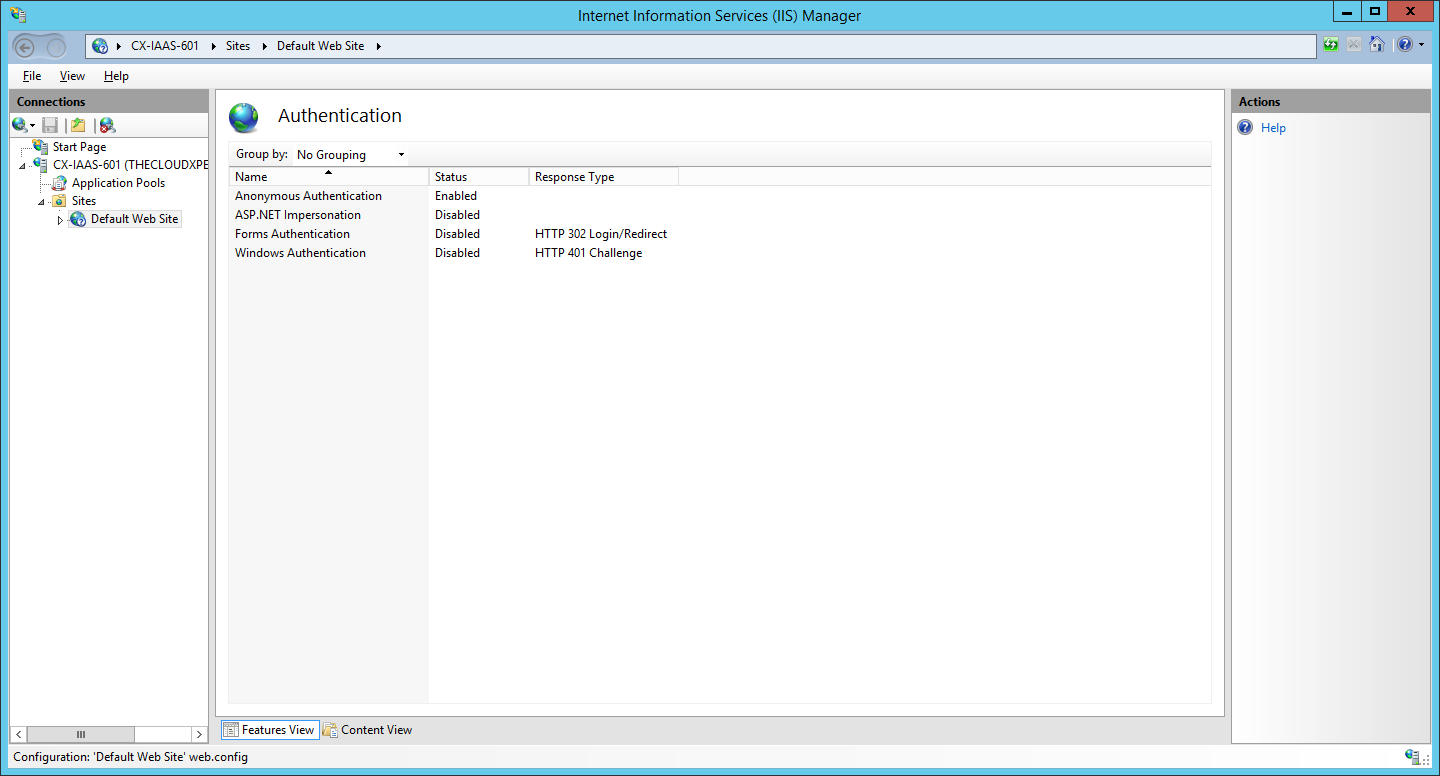
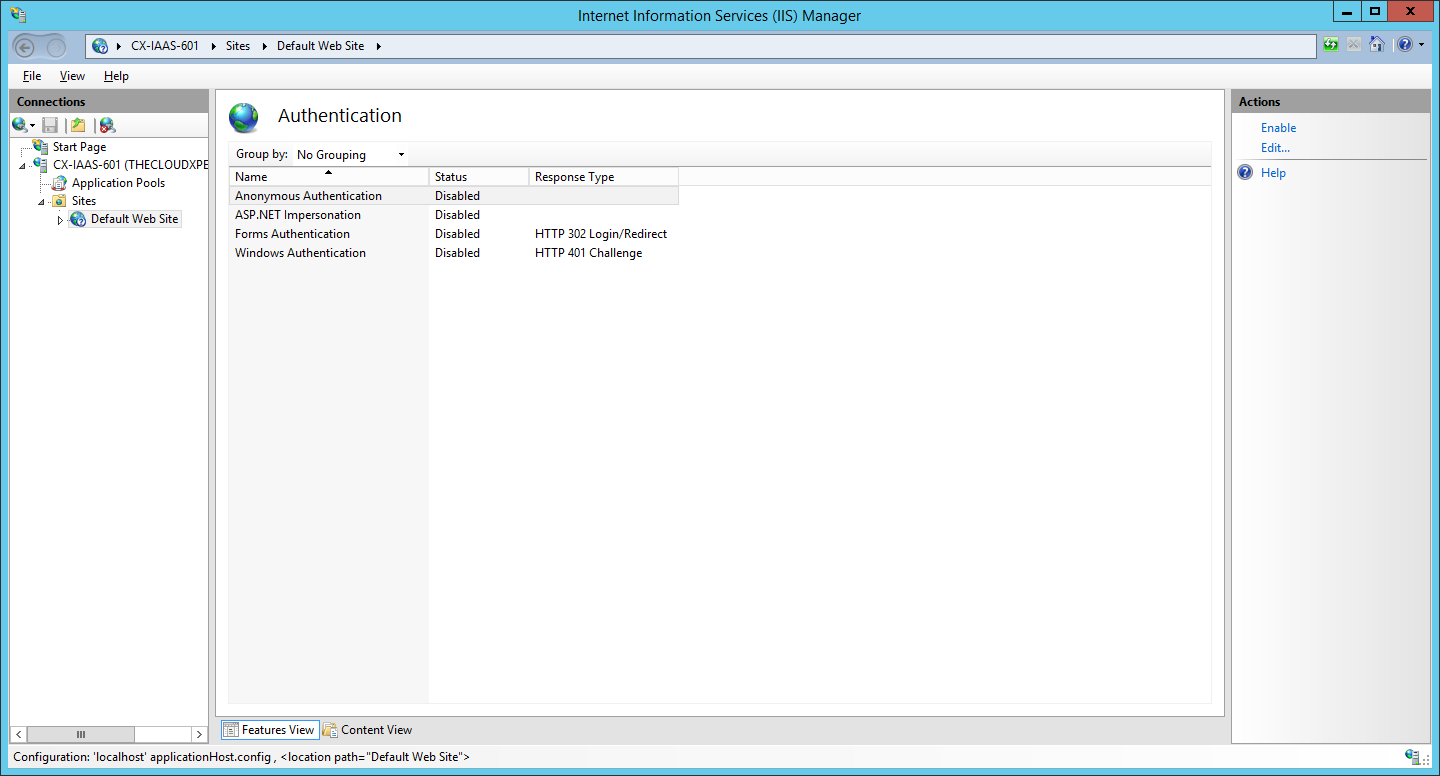
- Under Authentication highlight Anonymous Authentication and click Disable from the Actions menu.
- Under Authentication highlight Windows Authentication and click Enable from the Actions menu.
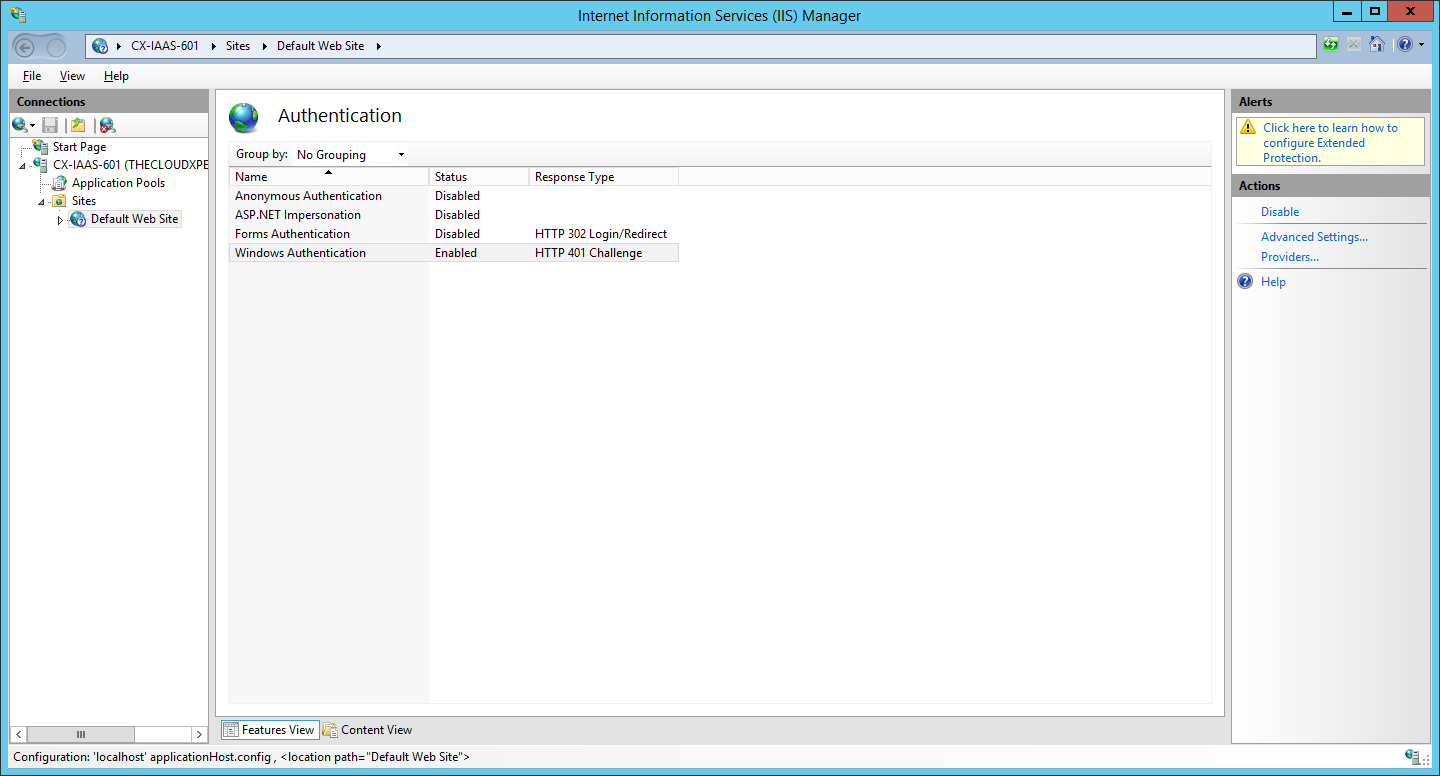
- Under Authentication highlight Windows Authentication and click Providers from the Actions menu.
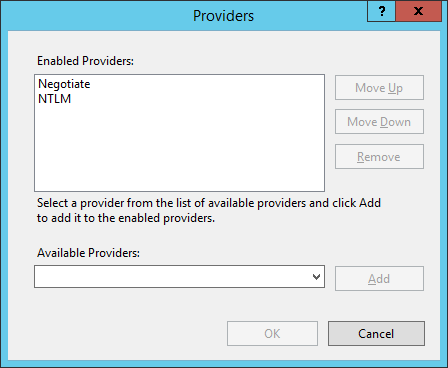
- Highlight each provider in turn and click Remove.
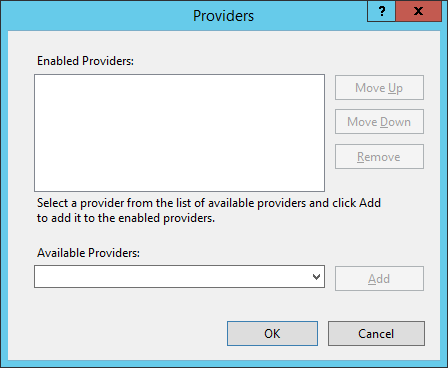
- Click OK.
- Under Authentication highlight Windows Authentication and click Providers from the Actions menu.
- From the Available Providers dropdown, select Negotiate and click Add.
- From the Available Providers dropdown, select NTLM and click Add.
- Click OK.
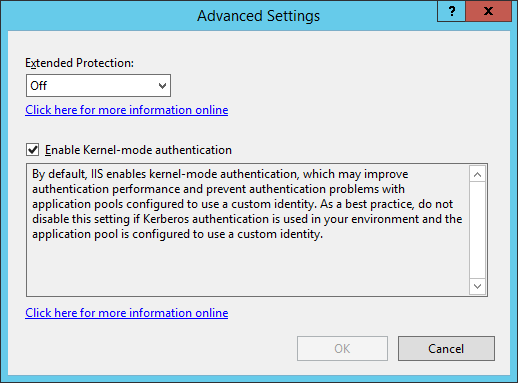
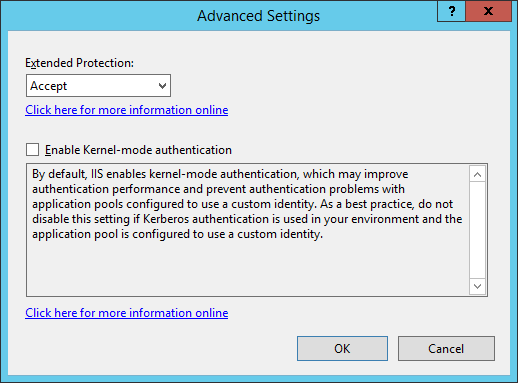
- Under Authentication highlight Windows Authentication and click Advanced Settings from the Actions menu.
- Select Accept from the Extended Protection dropdown, uncheck the Enable Kernel-mode authentication checkbox and then click OK.
- Under Authentication highlight Windows Authentication and click Advanced Settings from the Actions menu.
- Select Off from the Extended Protection dropdown, check the Enable Kernel-mode authentication checkbox and then click OK.
- At the Internet Infomation Services (IIS) Manager, right-click on the Default Web Site and select Manage Website > Restart.
Configure LoopbackCheck Registry Setting(s)
- Right-click on Start and select Run.
- Type into the Open text field
regedt32and click OK.
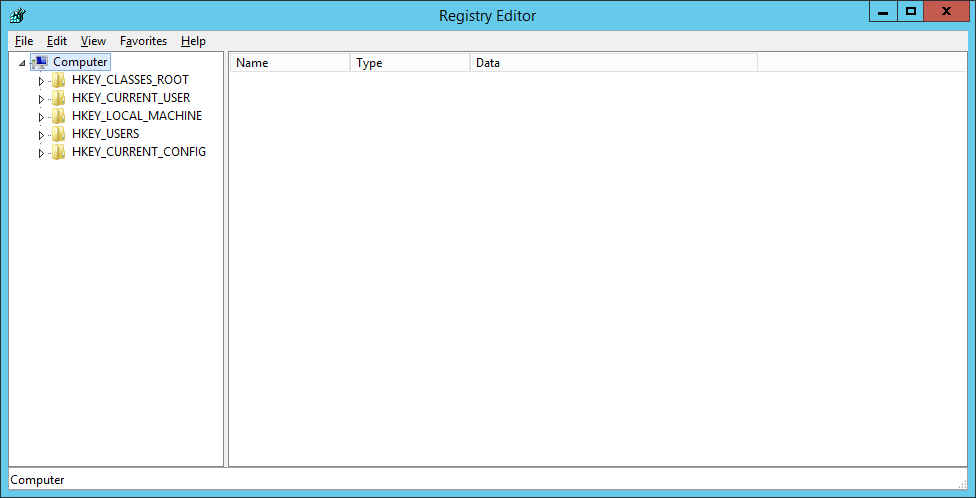
- Navigate to the
HKEY_LOCAL_MACHINE\SYSTEM\CurrentControlSet\Control\Lsa\registry key.
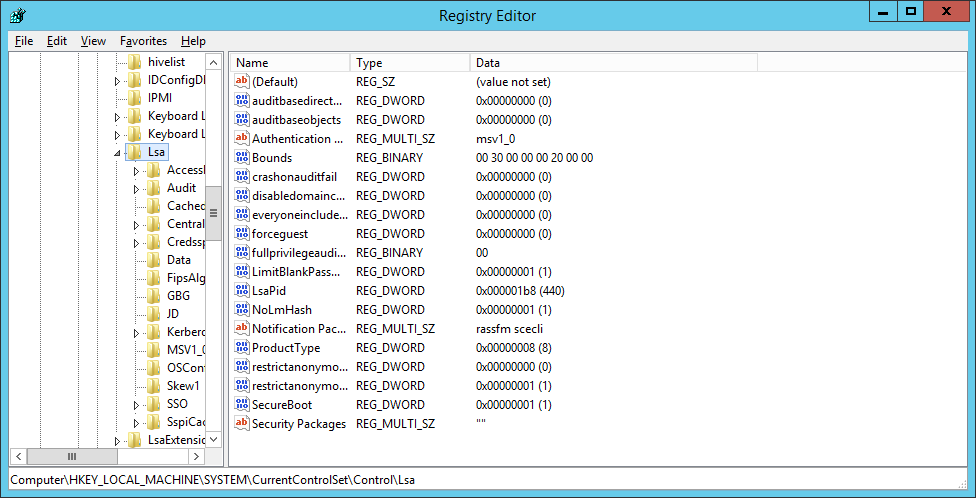
- Right-click on LSA and create a new DWORD named
DisableLoopbackCheck.
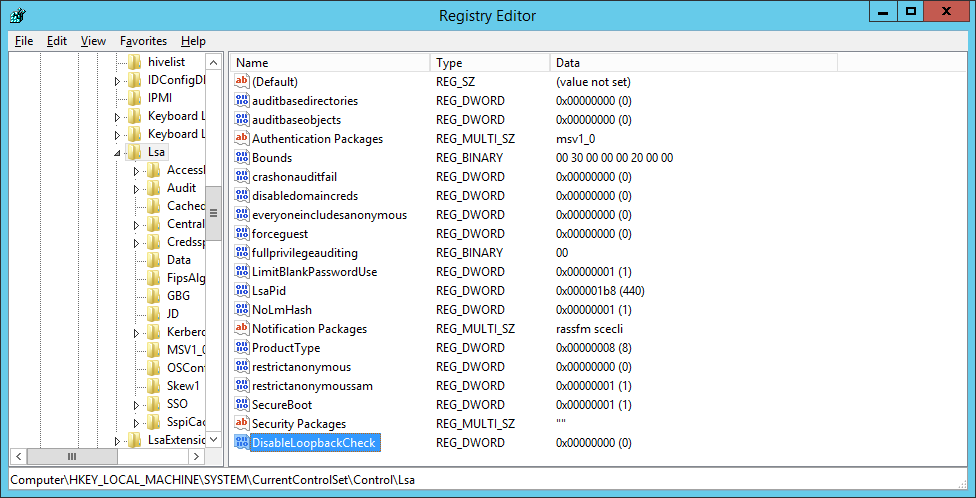
- Right-click on the
DisableLoopbackCheckkey, select Modify and set the value to 1.
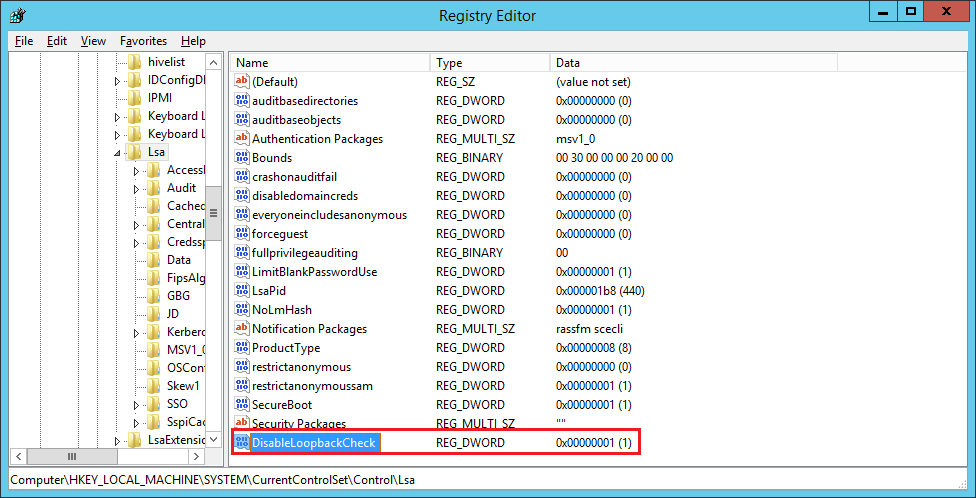
- Navigate to the
HKEY_LOCAL_MACHINE\System\CurrentControlSet\Services\LanmanServer\Parametersregistry key.
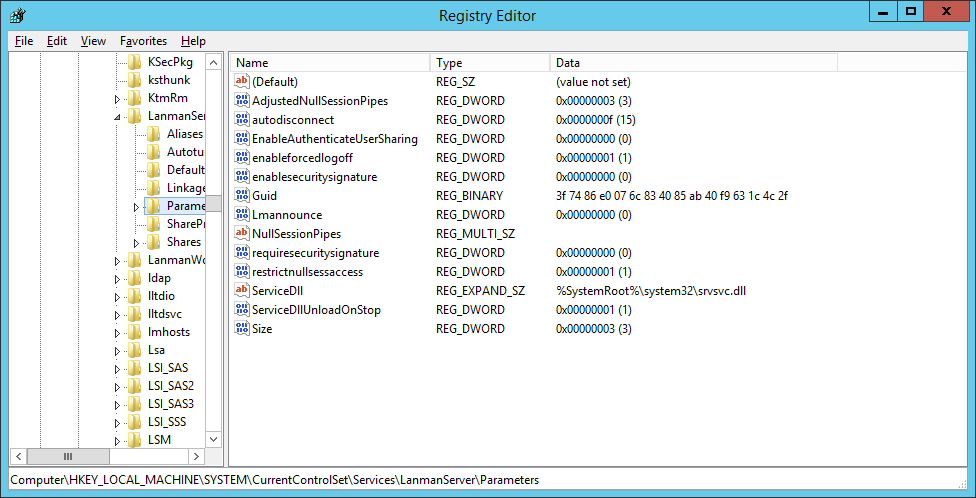
- Right-click on Parameters and select New > DWORD (32-bit) Value called
DisableStrictNameChecking.
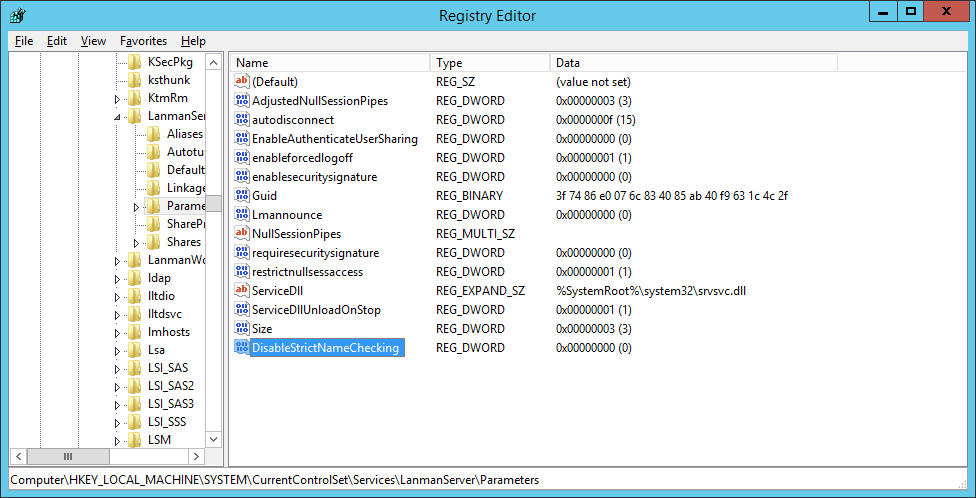
- Right-click on the new
DisableStrictNameChecking, select Modify and set a value of 1.
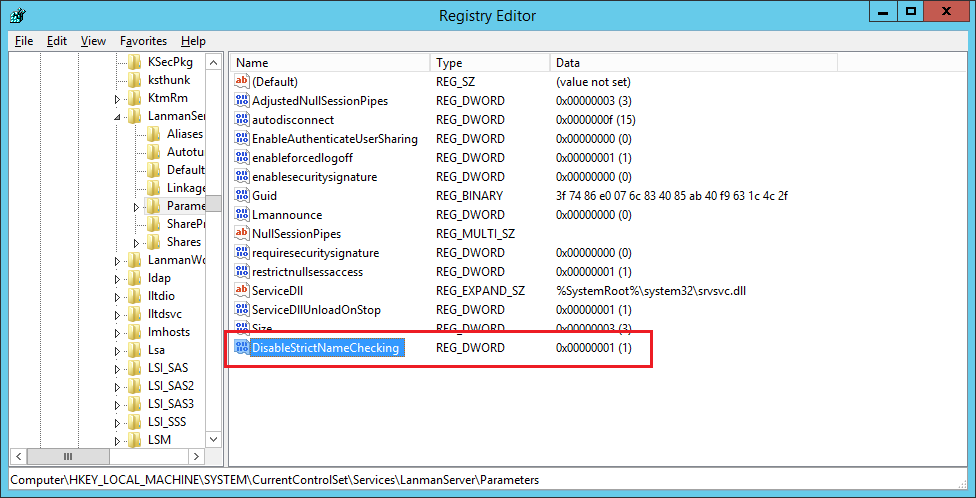
- Close the Registry Editor.
Note:
For these settings to take place we need to reboot the server but we’ll do that at the end.
Configure Secondary Logon Service
- Navigate to Start > Administrative Tools > Services
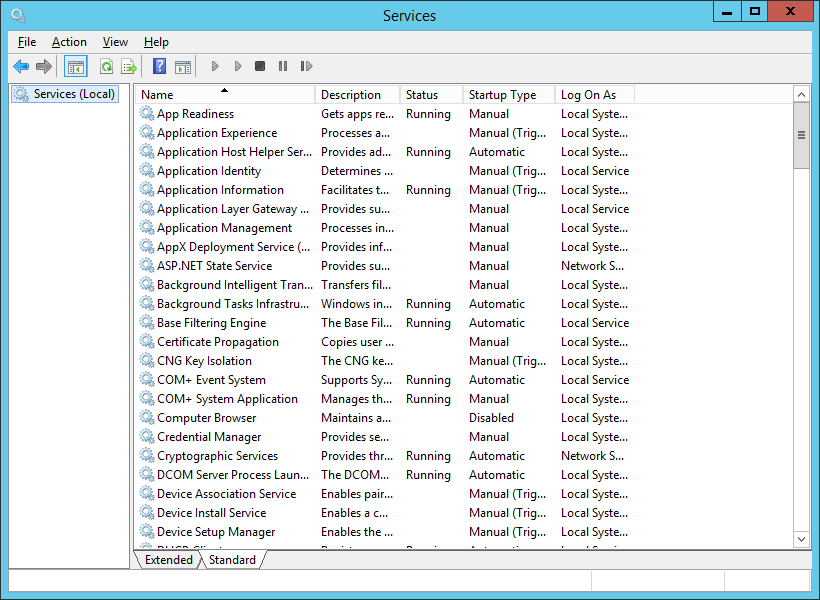
- Locate the Secondary Logon Service, right-click and select Properties.
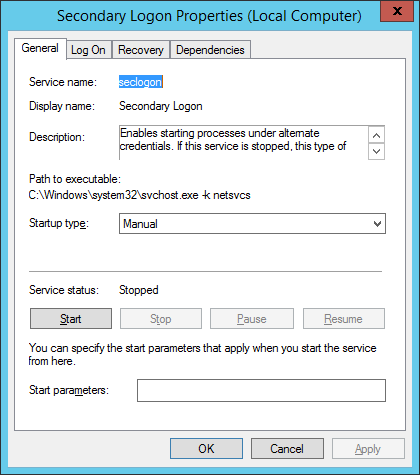
- Select Automatic from the Startup Type: dropdown and click Apply.
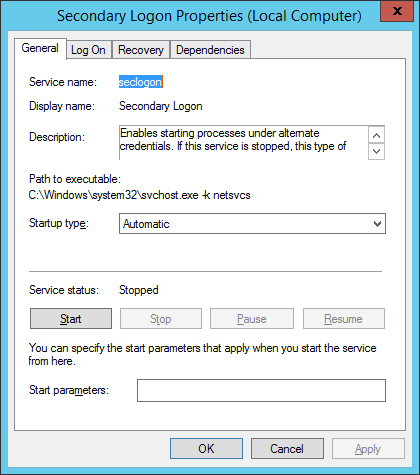
- Click Start and then click OK.
Configure User Rights Assignment
- Navigate to Start > Administrative Tools > Local Security Policy.
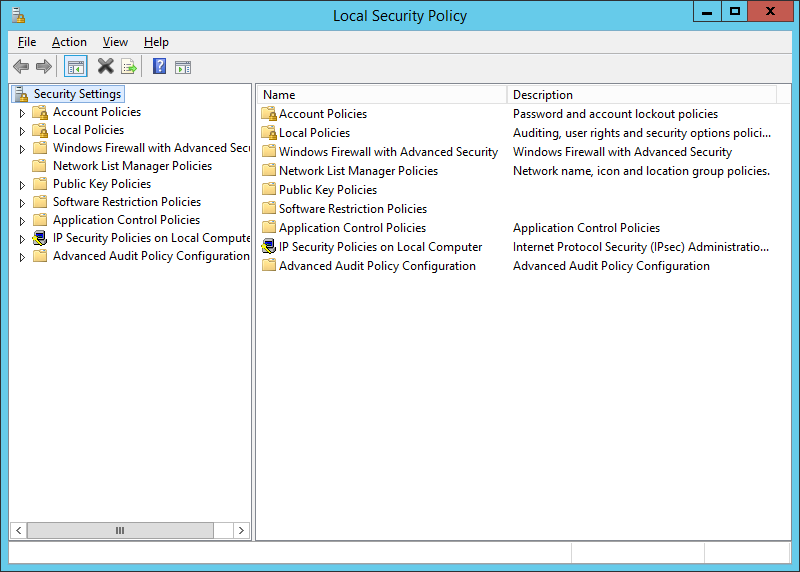
- Expand Local Policies > User Rights Assignment.
- Add the vRealize Automation Service to the following User Rights Assignments:
- Logon as a batch job
- Logon as a service
- Close the Local Security Policy application.
Configure Microsoft Distributed Transaction Coordinator
Microsoft Distributed Transaction Coordinator (MSTDC) is a critical component for the VMware vRealize Automation IaaS components, including the SQL Server and should be configured identically on each of the IaaS Server in the following way:
- Navigate to Start > Administrative Tools.
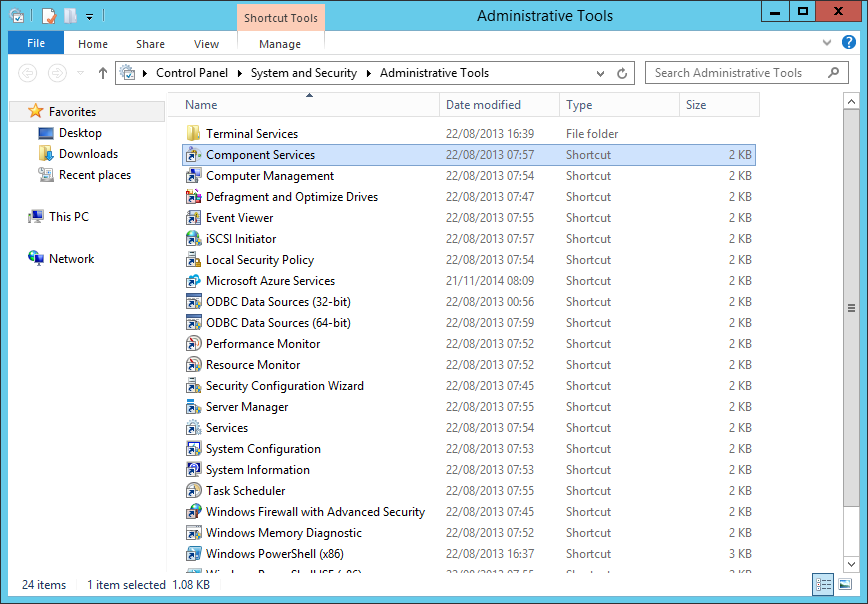
- Double click on Component Services.
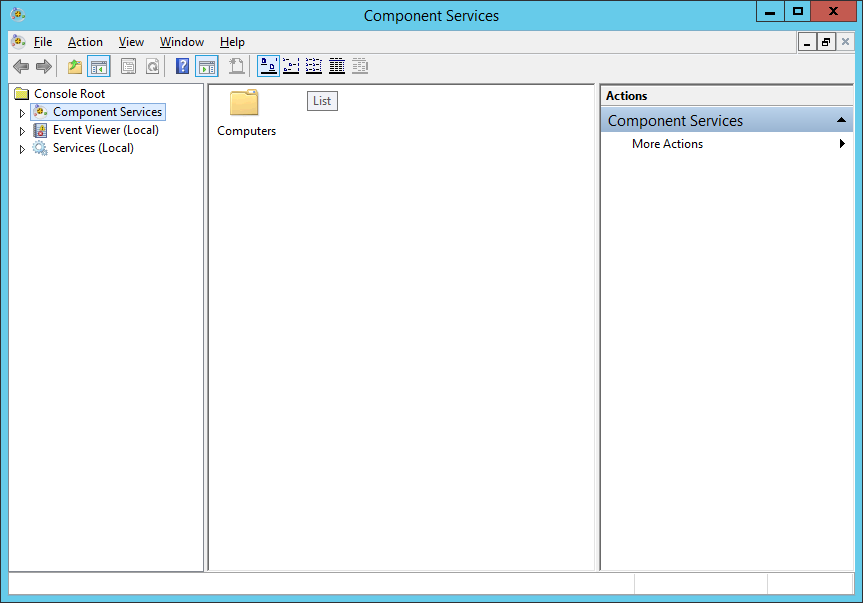
- Expand Component Services > Computers > My Computer > Distributed Transaction Coordinator.
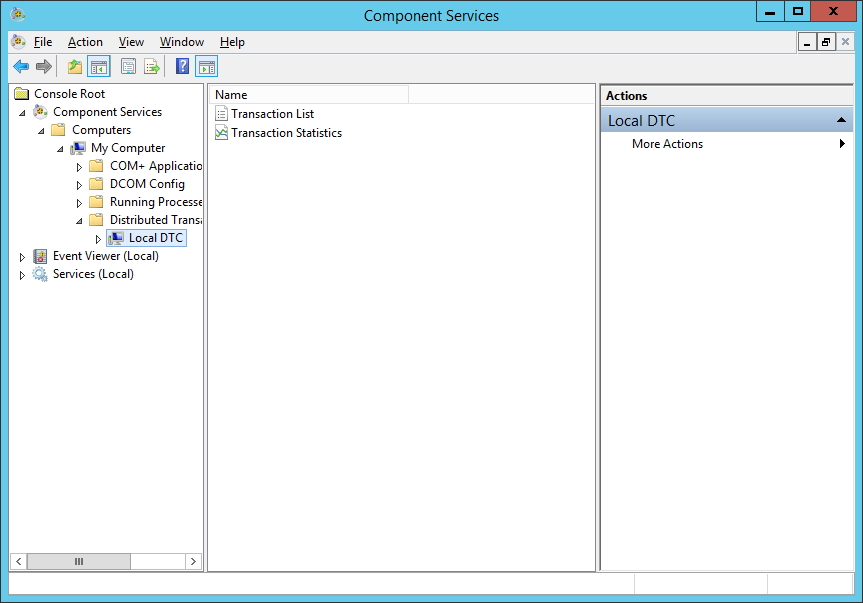
- Right-click Local DTS and select Properties.
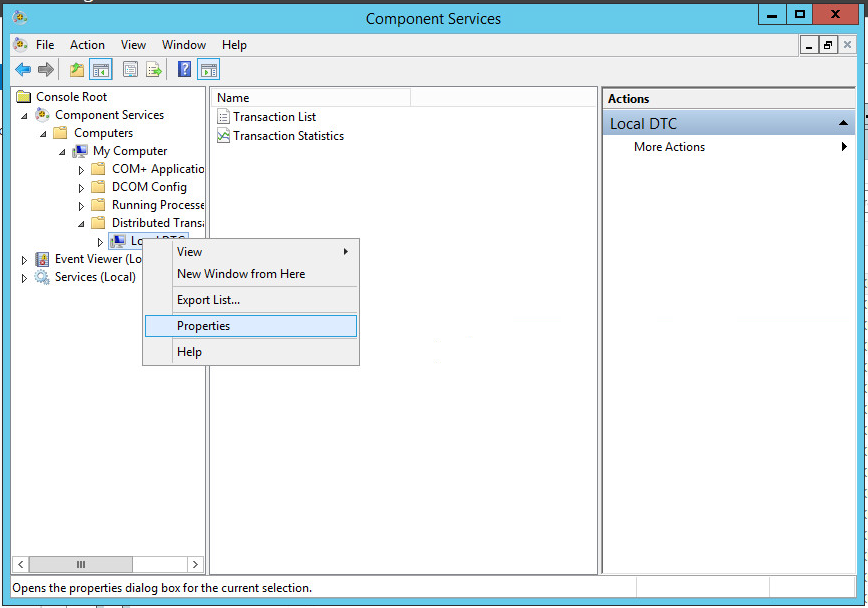
- Click the Security
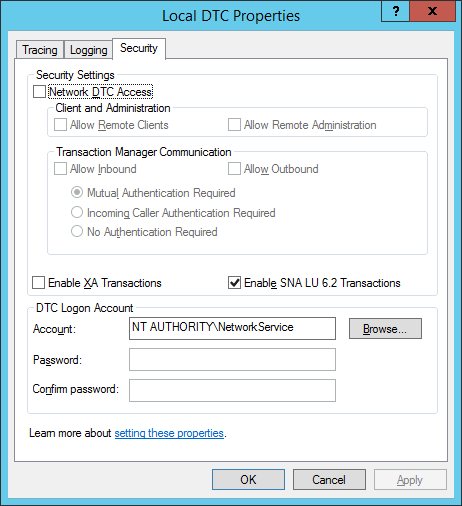
- Make the following changes on the Security Tab:
- Under Security Settings, check the Network DTC Access checkbox
- Under Client and Administration, check the Allow Remote Clients
- Under Transaction Manager Communication, check the Allow Inbound
- Under Transaction Manager Communication, check the Allow Outbound
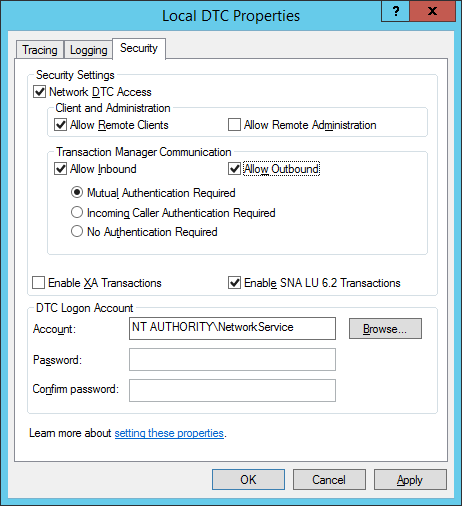
- Click OK.

- Click Yes.
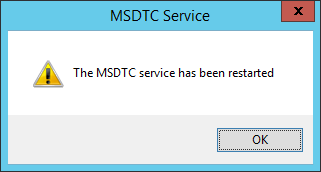
- Click OK.
Note:
If you have built your servers from a cloned Virtual Machine with MSDTC already installed/configured you will need to uninstall (using the
msdtc -uninstall command) and re-install MSDTC (using the msdtc -install) before any configuration can take place.
Configure the Windows Firewall
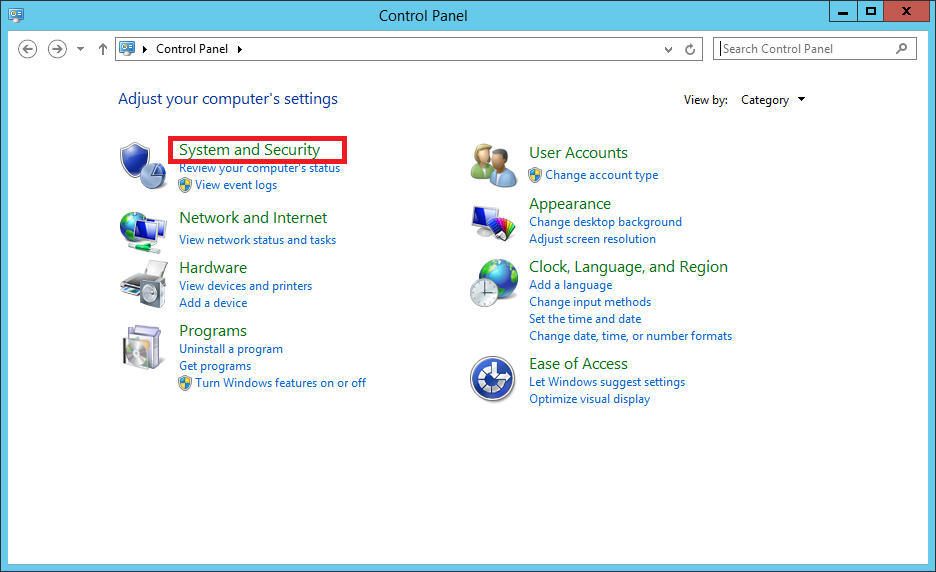
- Navigate to Start > Control Panel
- Click System and Security.
- Under Windows Firewall, Click Allow an app through Windows firewall.
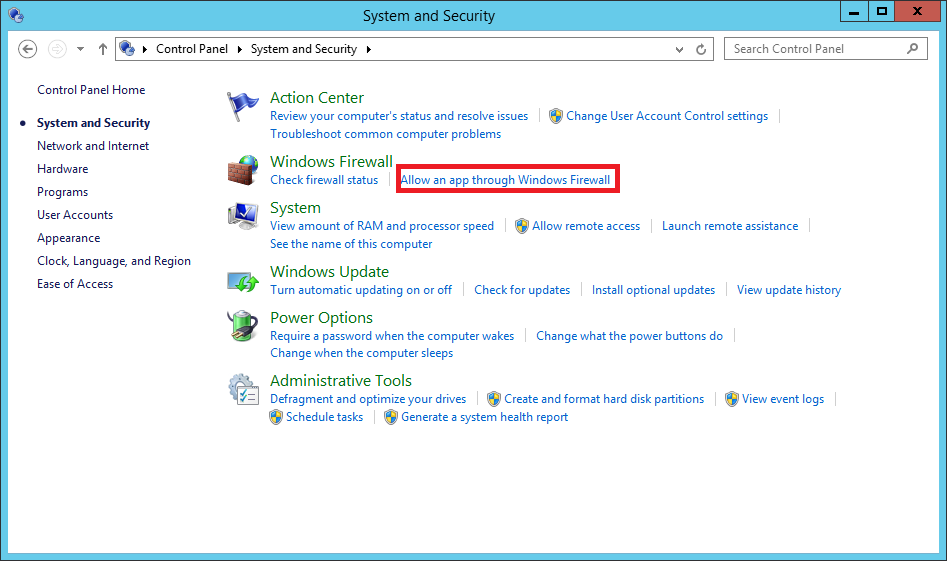
- Click Change Settings
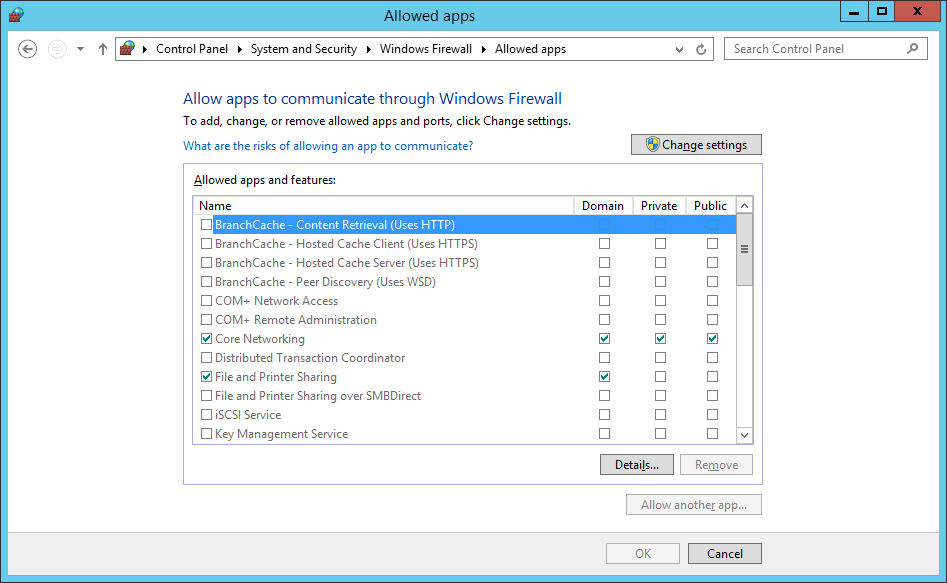
- Check the Domain check box for the Distributed Transaction Coordinator app.
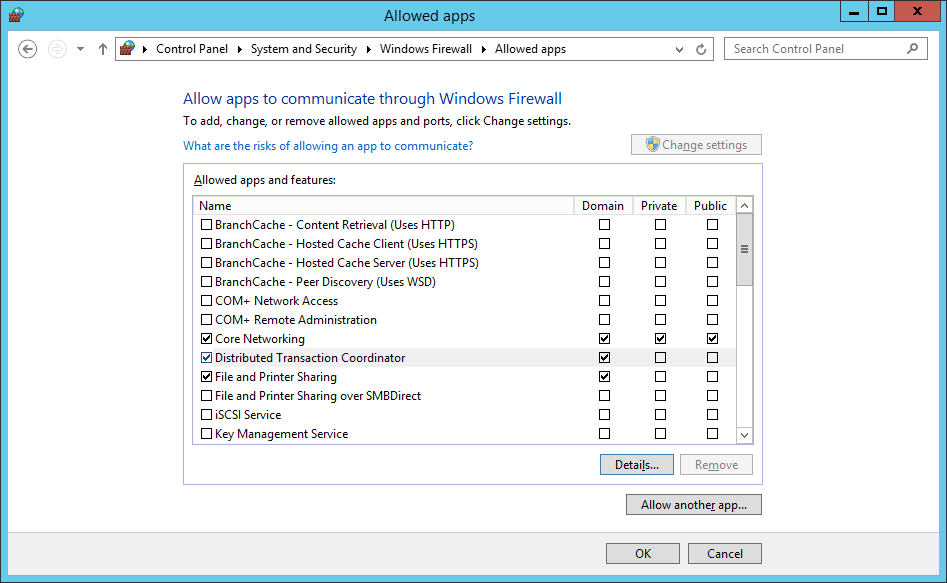
- Click OK.
Install and Configure Oracle JRE
For this I have downloaded the latest version of Oracle JAVA 1.8 (jre-8uXX-windows-x64.exe).
- Double-click on the jre-8uXX-windows-x64.exe.
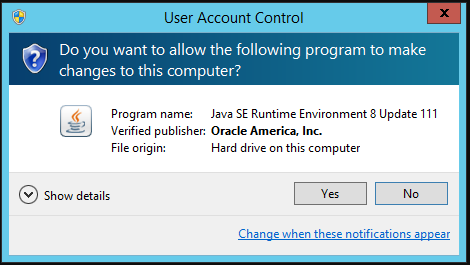
- If prompted with the User Access Control dialog, click Yes.
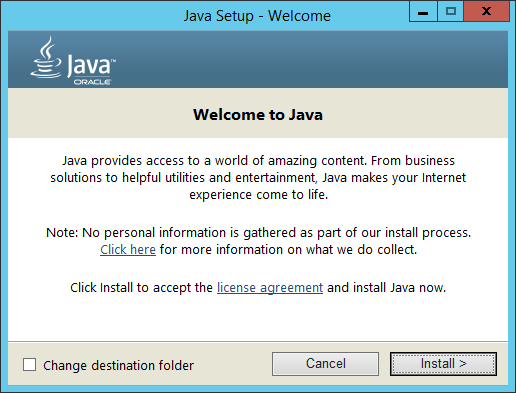
Note:
In real life, I am a fan of changing the destination folder so that applications are not installed on the C: drive, but for this blog I’ll be using the defaults.
- Click Install.
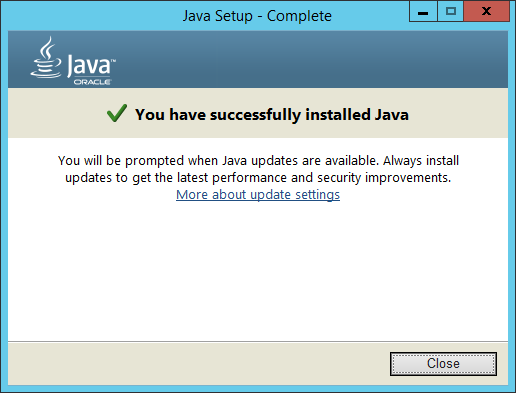
- Click Close.
- Navigate to Start, then right click on This PC and select Properties from the context menu.
- At the System screen, click Advanced system settings.
- At the System Properties dialog, click Environment Variables…
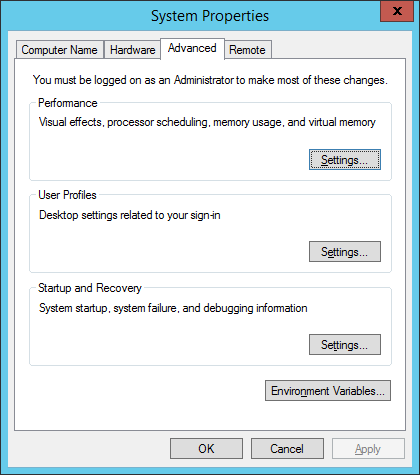
- At the Environment Variables dialog, under System variables click New…
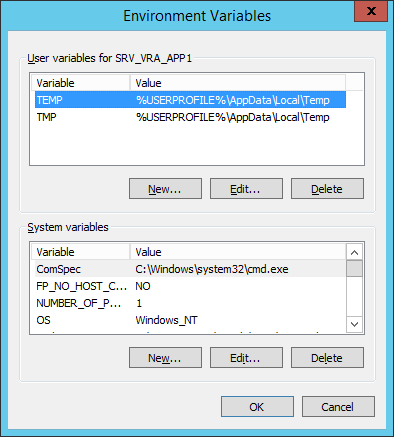
- At the New System Variable dialog, type the following into the text fields:
- Variable name: is
JAVA_HOME - Variable value: is
D:\Program Files\Java\jre1.8.0_XX
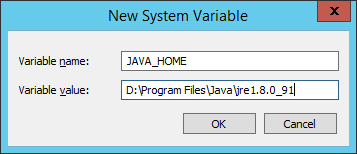
- Click OK.
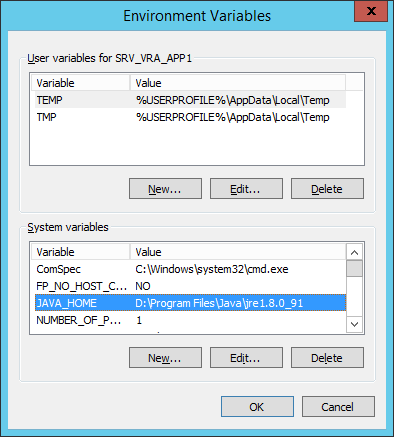
- Click OK.
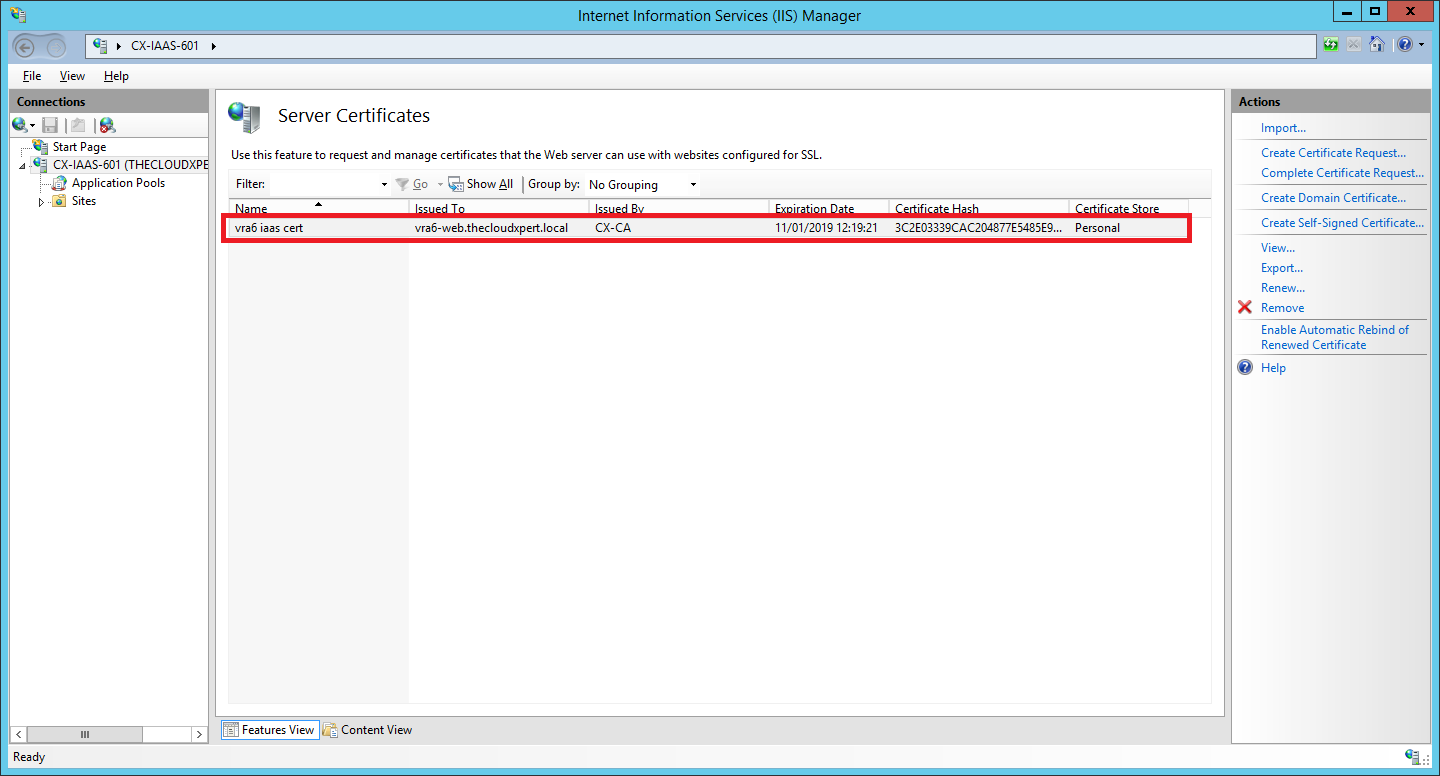
Install the IaaS SSL Certificate
- Navigate to Start > Administrative Tools > Internet Information Services (IIS) Manager.
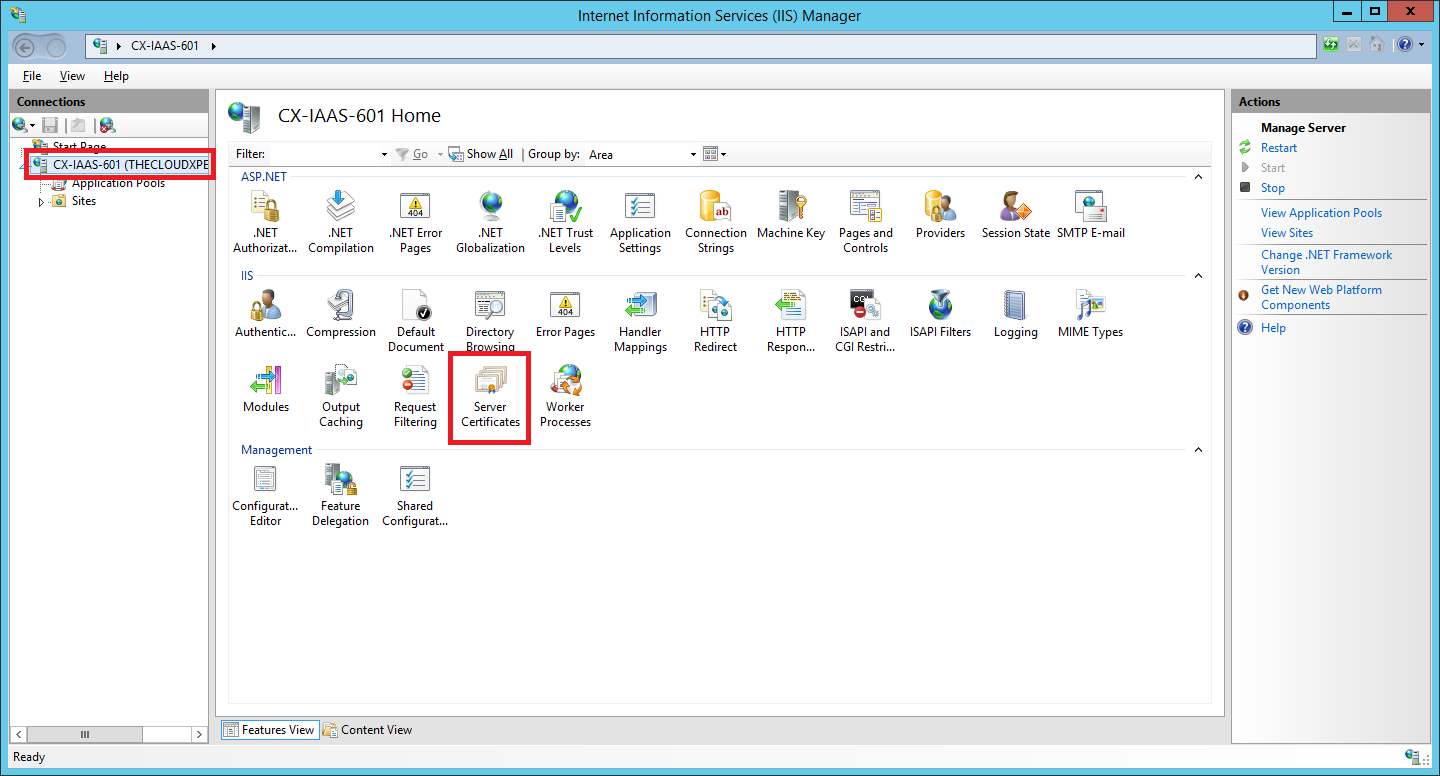
- Select <HOSTNAME> and double click on Server Certificates.
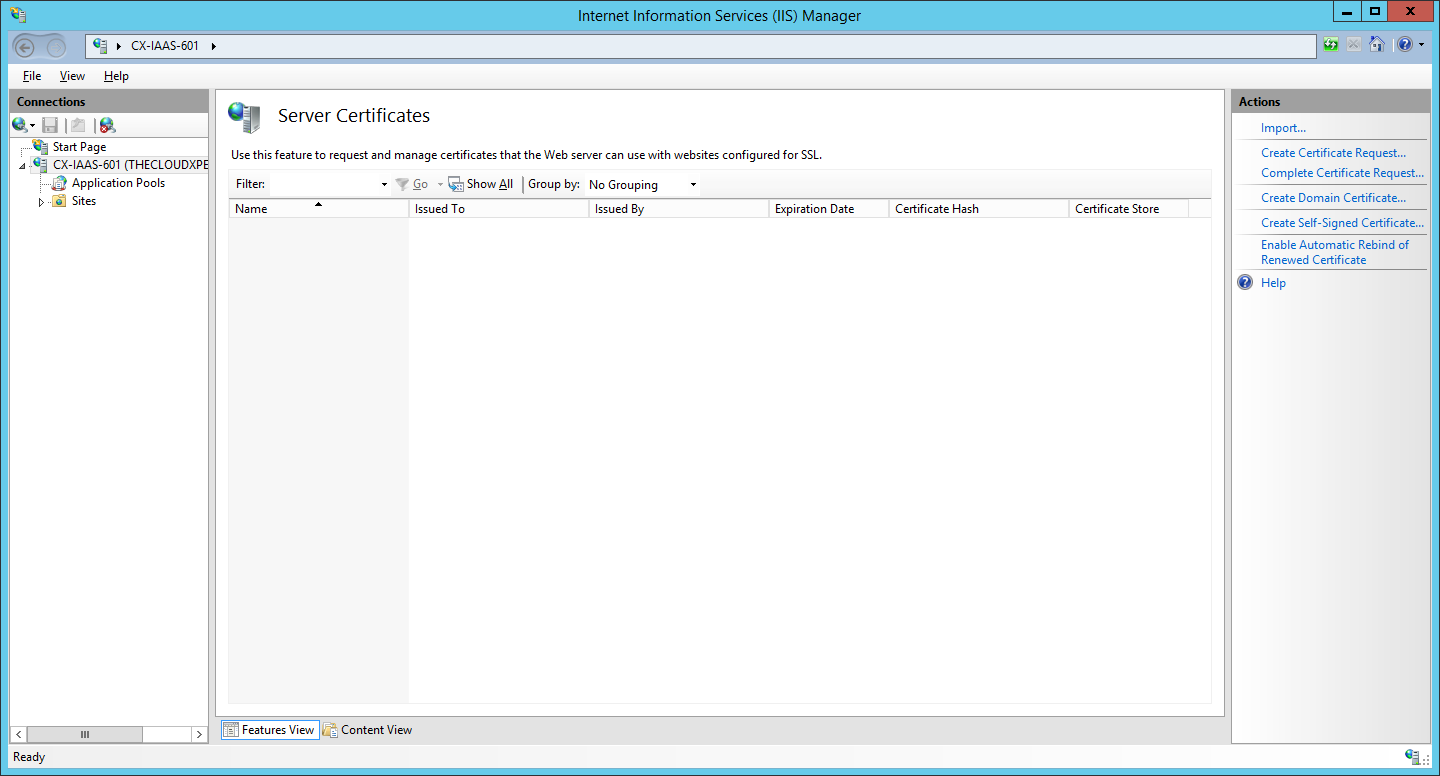
- Click Import from the Actions Menu.
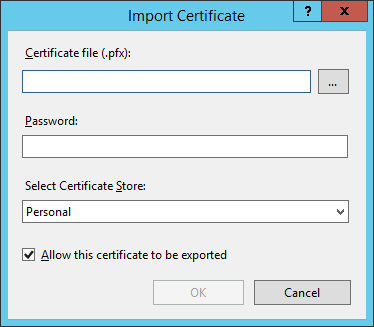
- Enter the location of the pfx version of the SSL certificate for this server into the Certificate file (.pfx) text box (you can click … and search for it), type the export password into the Password textbox.
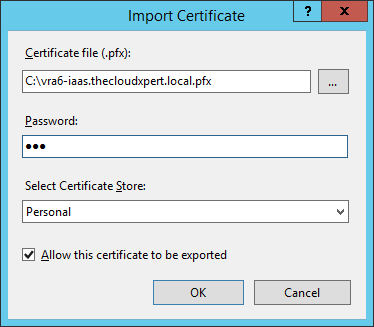
- Click OK.
Published on 11 January 2017 by Christopher Lewis. Words: 1209. Reading Time: 6 mins.
Share this article on:
Related Post(s):
- VCAP6-CMA Deploy - Objective 1.1: Deploy and Manage a vRA Appliance and IaaS Server as Single nodes ()
- HOWTO: Configure the VMware vRealize Automation 6.x Appliance (Minimal Deployment) ()
- HOWTO: Deploy the Identity Appliance for vRealize Automation 6.x ()
- HOWTO: Configure the VMware Identity Appliance for vRealize Automation 6.x ()
- HOWTO: Deploy the VMware vRealize Automation 6.x Appliance (OVA) ()
Recent Posts:
Blog Categories:
active directory 6
aria automation 9
aria automation orchestrator 1
aria operations 2
aws 2
blog 1
career 1
certificate authority 5
certificates 5
certification 91
cloud management 1
cloudnativecon 1
community 1
fun 1
general 9
hands on labs 1
home lab 2
kubecon 1
kubernetes 1
microsoft 7
nsx 45
nsx v 41
powercli 8
powershell 6
reviews 1
vcap 48
vcap6 2
vcenter 4
vcix 2
vexpert 9
vmug 5
vmware 99+
vmware aria 1
vmware aria automation 9
vmware aria automation orchestrator 1
vmware aria operations 3
vmware cloud 3
vmware cloud director 1
vmware explore 2
vmware identity manager 2
vmworld 36
vrealize automation 80
vrealize automation saltstack config 1
vrealize business 2
vrealize log insight 1
vrealize operations 1
vrealize operations manager 5
vrealize orchestrator 13
vrealize suite 14
vrealize suite lifecycle manager 20
vsan 5
vsphere 9
windows 6
Top Tags:
active directory 6
api 18
barcelona 24
certificates 11
certification 7
howto 33
microsoft 7
multi tenancy 9
nsx v 43
platform services controller 8
powercli 8
powershell 7
psc 6
vcap 9
vcap6 45
vcap6 cma 48
vcap6 nv 37
vcix6 nv 36
vexpert 19
vmug 8
vmware 99+
vmware aria 10
vmware aria automation 9
vmworld 35
vmworld 2016 13
vmworld 2017 9
vra 13
vrealize automation 74
vrealize operations 8
vrealize orchestrator 21
vrealize suite lifecycle manager 11
vrslcm 20
vsan 7
vsphere 12