VCAP6-CMA Deploy - Objective 7.1: Deploy and Manage a vRealize Application Services Appliance
VMware vRealize Automation vRealize Application Services VCAP6 VCAP6-CMA
Published on 13 March 2017 by Christopher Lewis. Words: 706. Reading Time: 4 mins.
Objective 7.1 - Deploy and Manage a vRealize Application Services Appliance
Objective Overview
- Assign a user the necessary permissions to gain access to Application Services.
- Install and set up the Application Services virtual appliance.
- Configure Application Services to use a proxy.
- Register a cloud provider with Application Services.
- Map a Cloud Template to a Logical Template.
- Map Application Services to a vRA reservation policy
Objective Prerequisites
The following prerequisites are assumed for this Objective:
- A fully deployed vRealize Automation Solution.
Objective Breakdown
Assign a user the necessary permissions to gain access to Application Services
We have covered the process of assigning users and groups roles within vRealize Automation in Objective 2.1 .
You need to be a Tenant Administrator to do this.
From a vRealize Application Services perspective there are 4 roles, any of which will grant you access to the Appliance once deployed. However, the different roles mean you can do different things once logged in.
The four roles are:
- Application Architect - creates, modifies and deletes applications.
- Application Catalog Administrator - Defines Services, templates, operating systems, task and tags.
- Application Cloud Administrator - Defines resources and deployment environments.
- Application Publisher and Deployer - Deploys applications into vRealize Automation catalog AND creates, updates and publishes services, library items and actions.
Install and set up the Application Services virtual appliance
See HOWTO: Deploy VMware vRealize Automation 6.x Application Services
Configure Application Services to use a proxy
Check out the
VMware Article
on how to actually update the darwin_global.conf.
We’ll concentrate on configuring the vRealize Application Services to use the darwin_global.conf file by creating a new Service.
- Navigate to
https://app-services.fqdn:8443/darwin/<tenant>.
- Log in using an an account with an Application Catalog Administrator role.
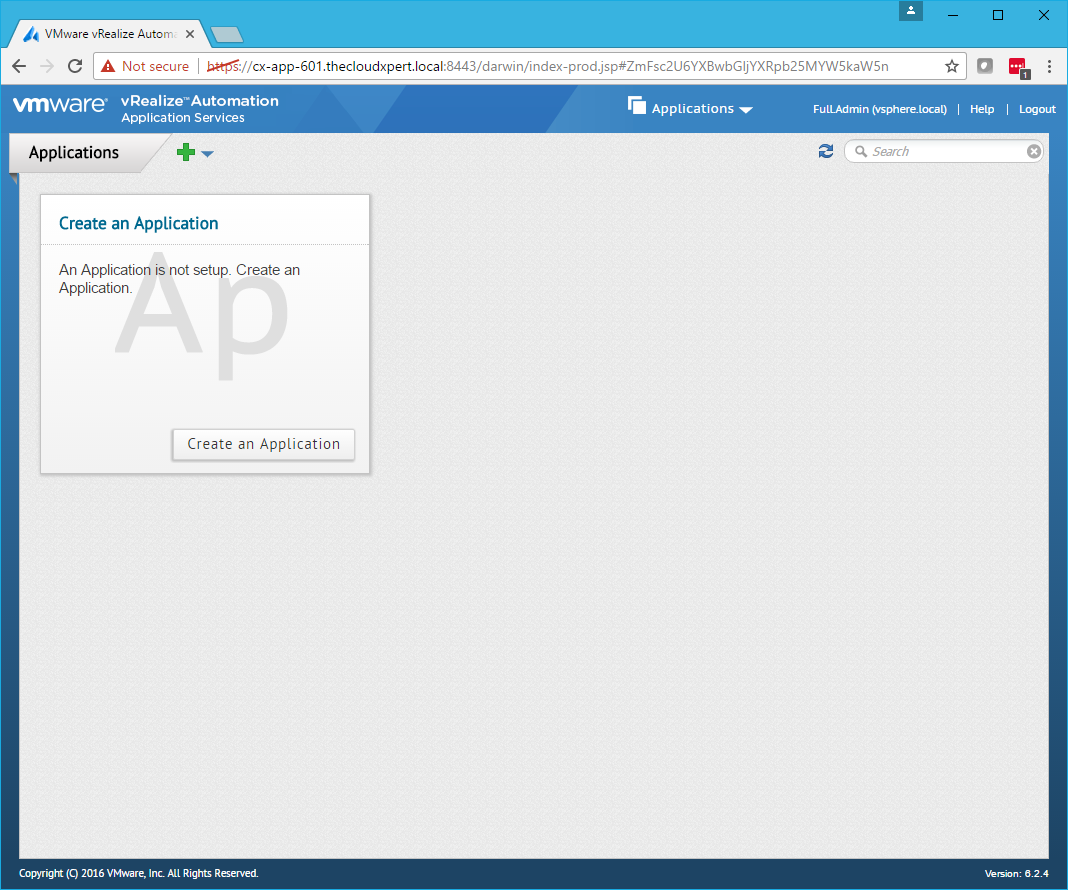
- Click Applications and select Services.
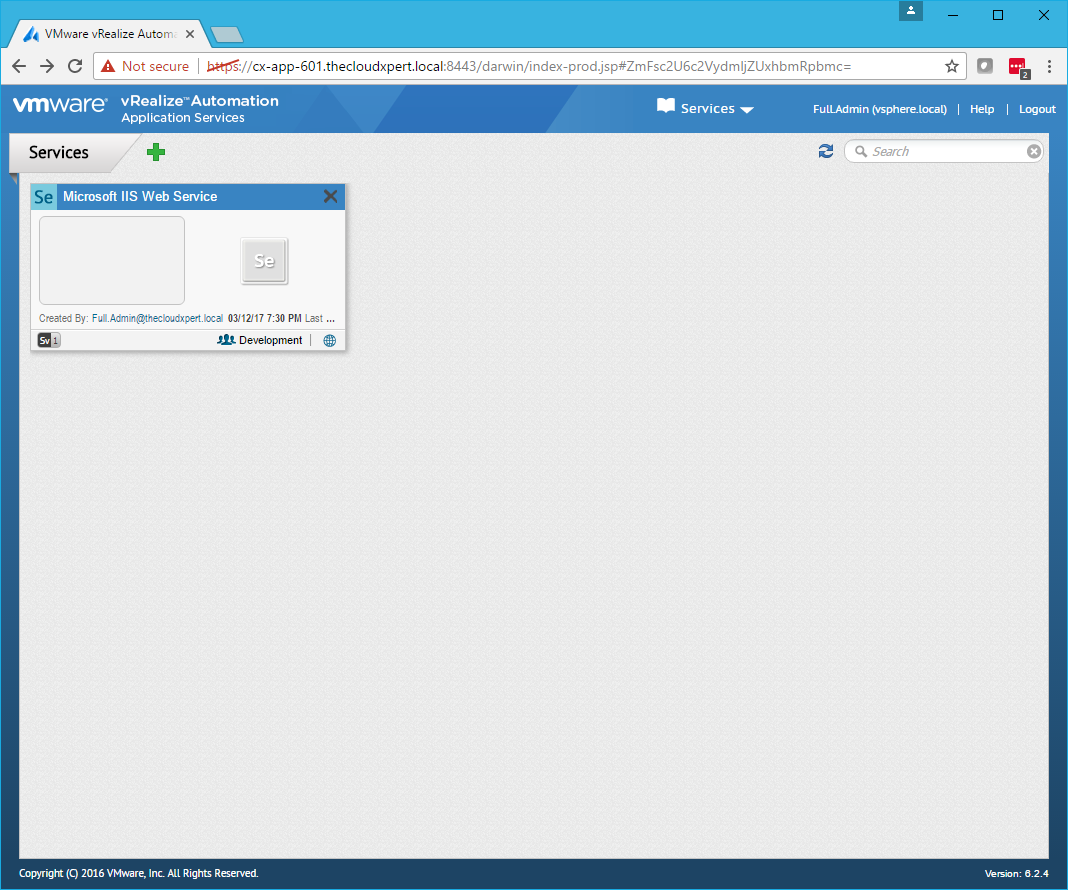
- Click the Service to update.
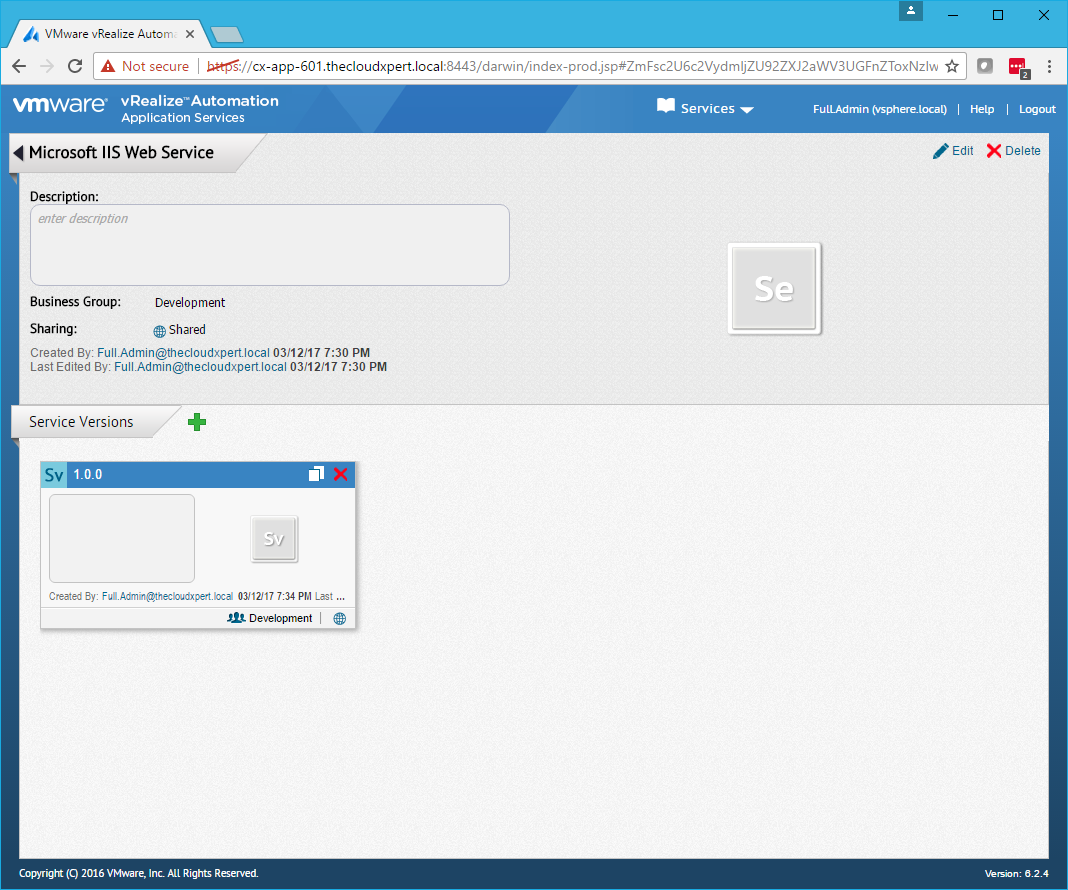
- Click on the Service Version that will be updated (or create a new Version).
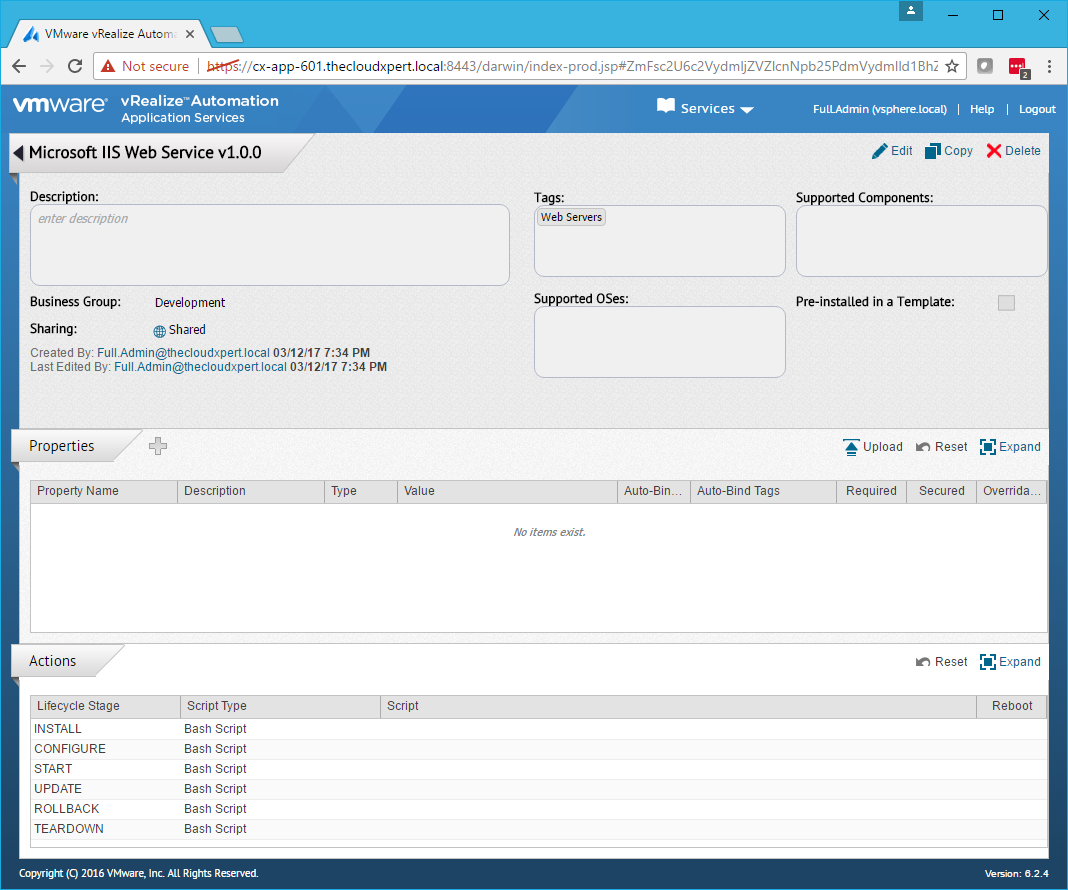
- Click Edit.

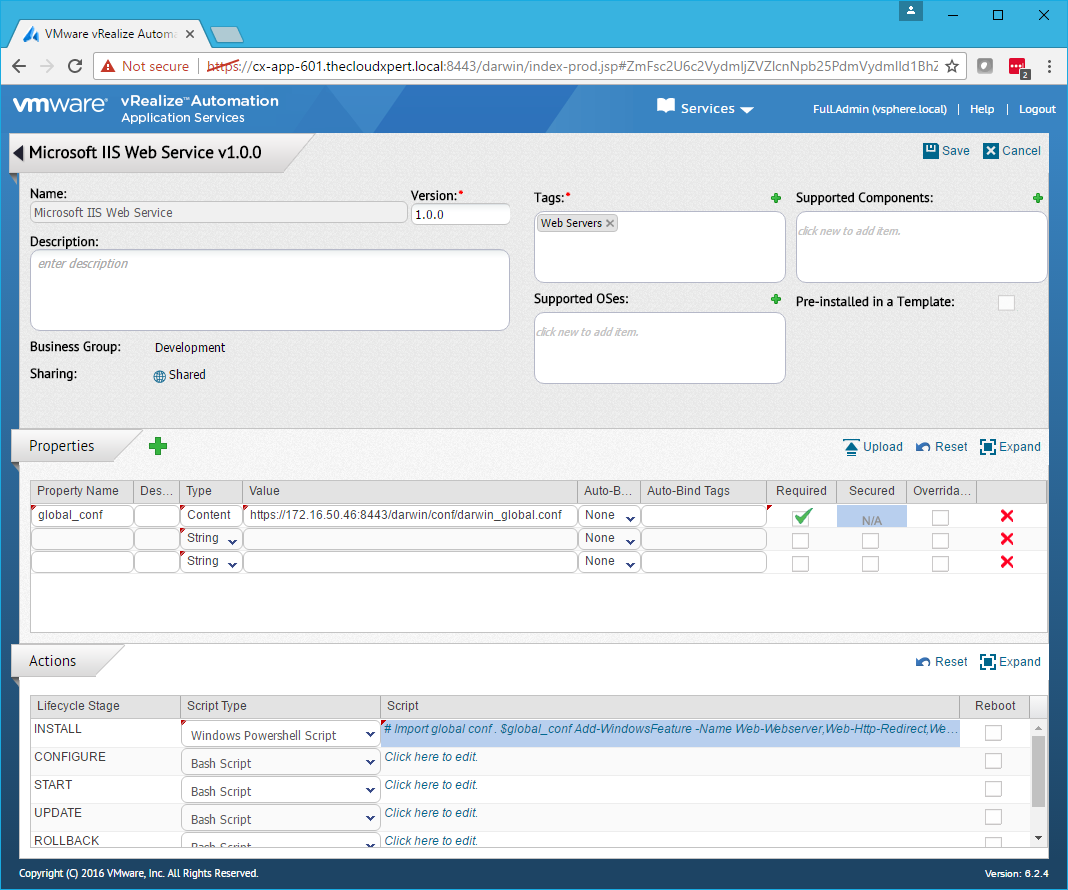
- Under Properties, click Add (+).
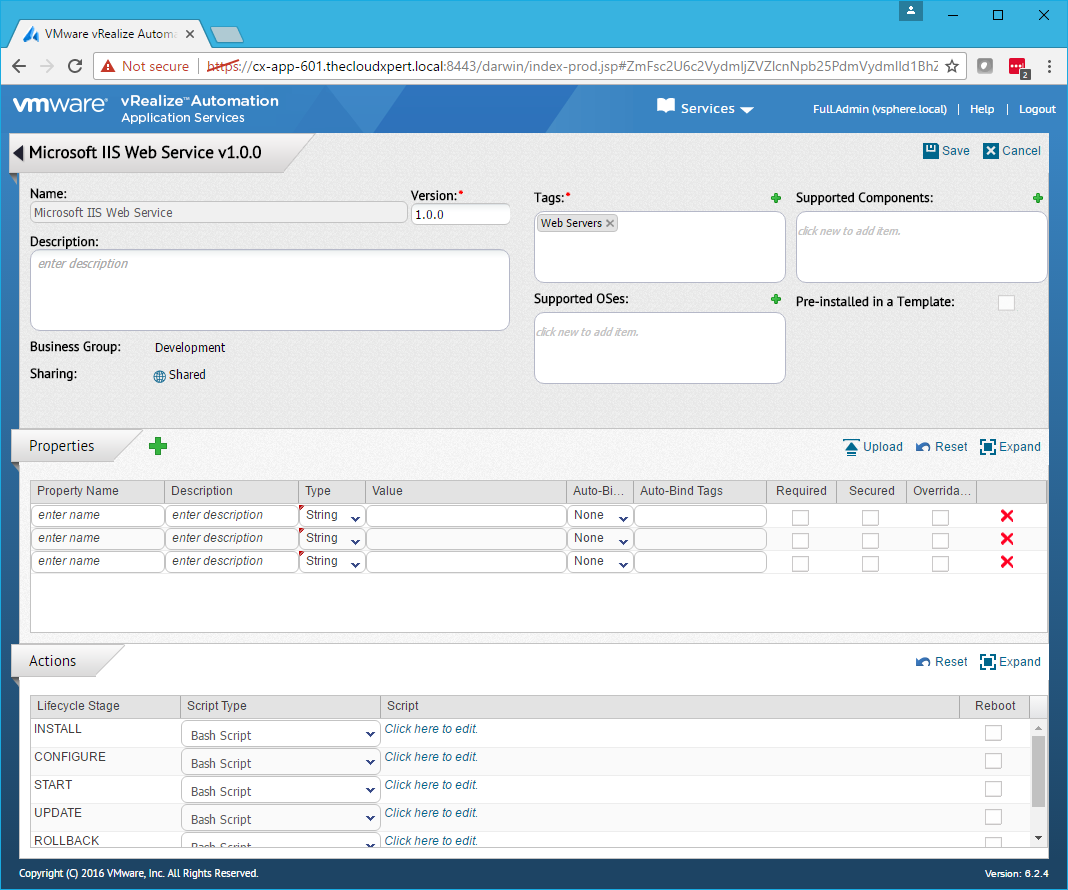
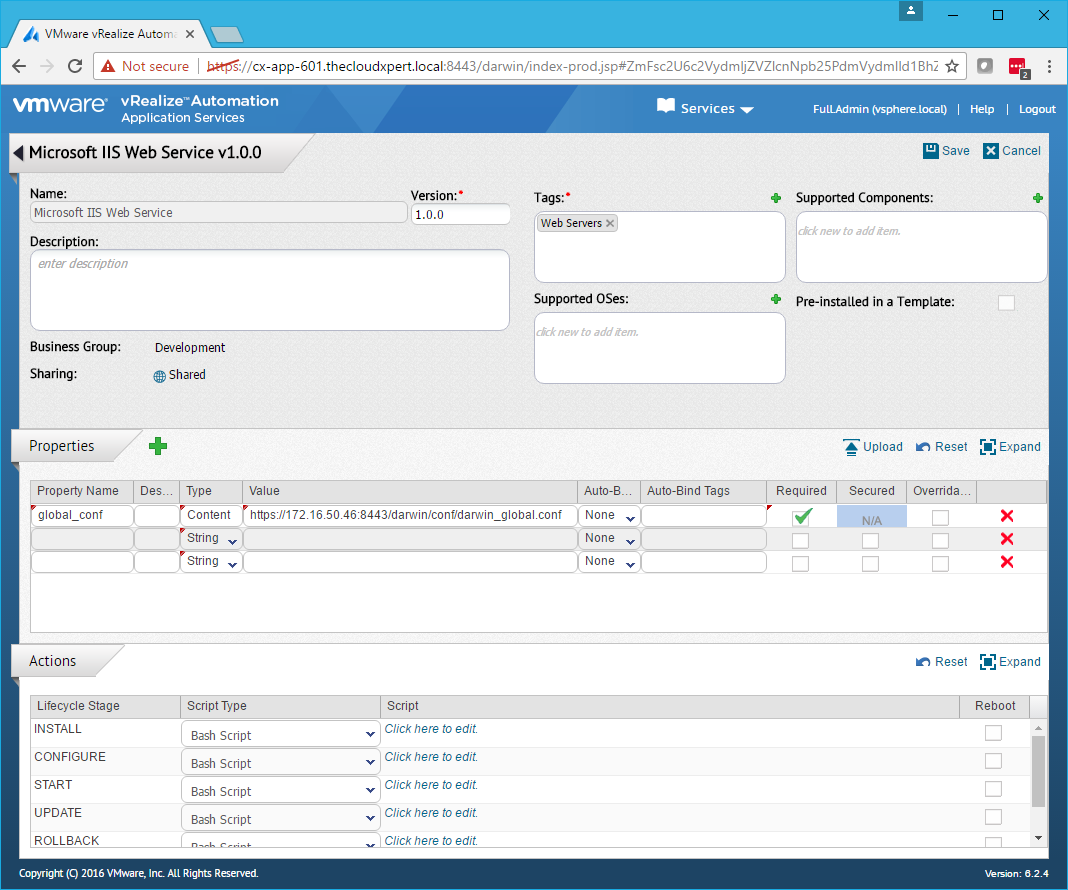
- Create a new property with the Property Name as
global_conf. Set Type toContentand define the Value ashttps://app-services-ip-address:8443/darwin/conf/darwin_global.conf.
- Under Action, for each script that requires the use of a proxy server, click to edit the script.
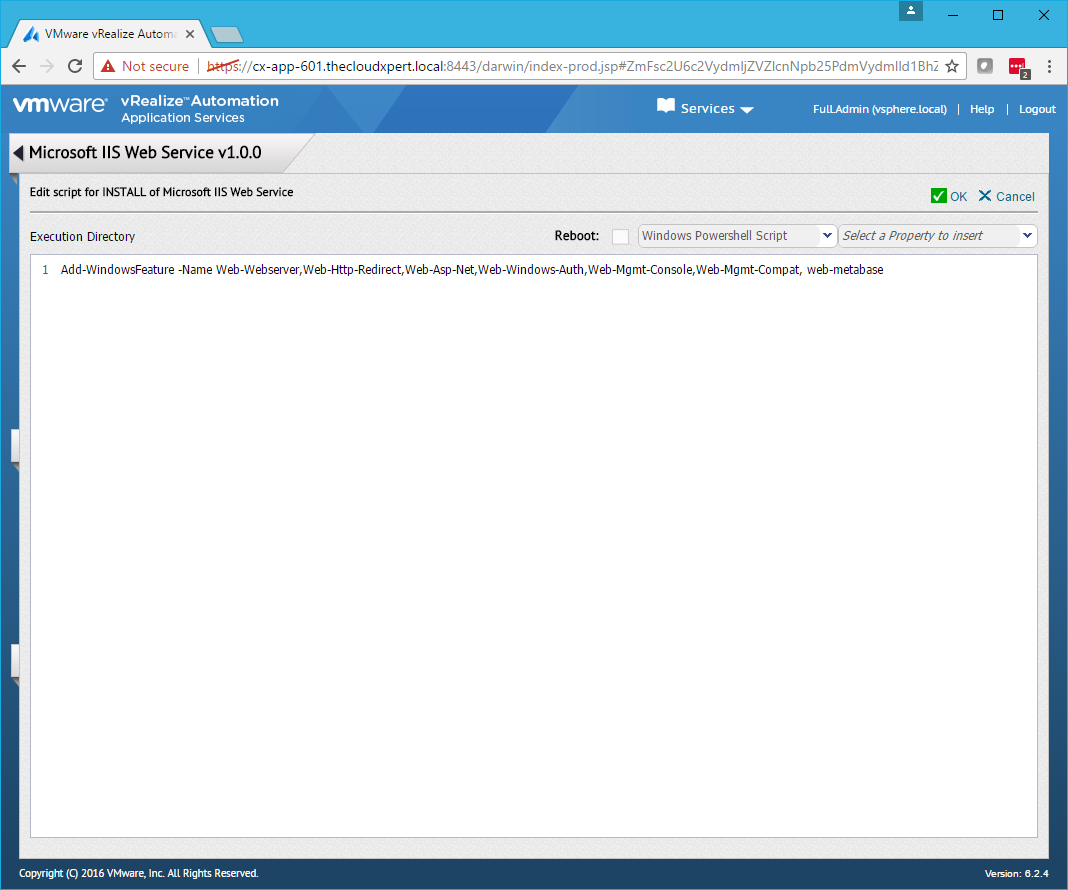
- Add the following to the beginning of the script:
`# Import global conf
. $global_conf`
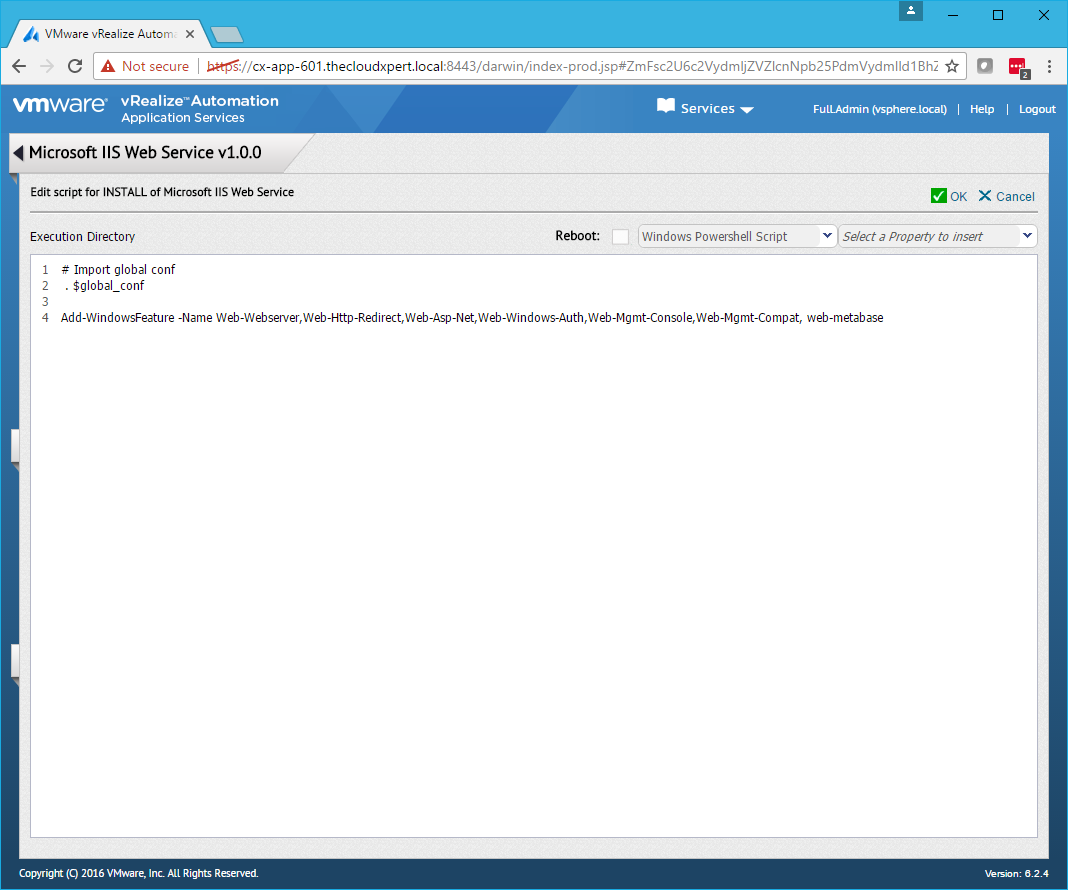
- Click OK.
- Click Save.
- Click Logout.
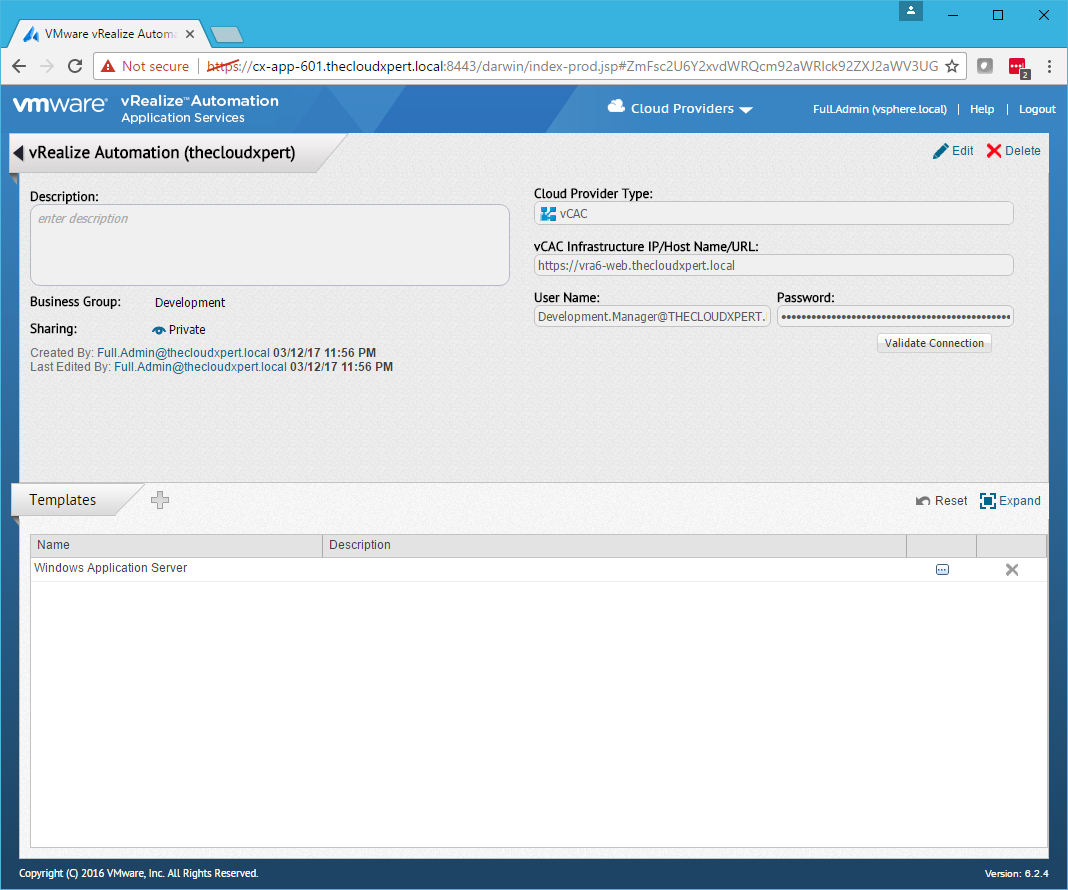
Register a cloud provider with Application Services
In this example, we’re going to register the vRealize Automation environment as a Cloud Provider for Application Services.
- Navigate to
https://app-services.fqdn:8443/darwin/<tenant>.
- Log in using an an account with an Application Cloud Administrator role.
- Select Cloud Providers.
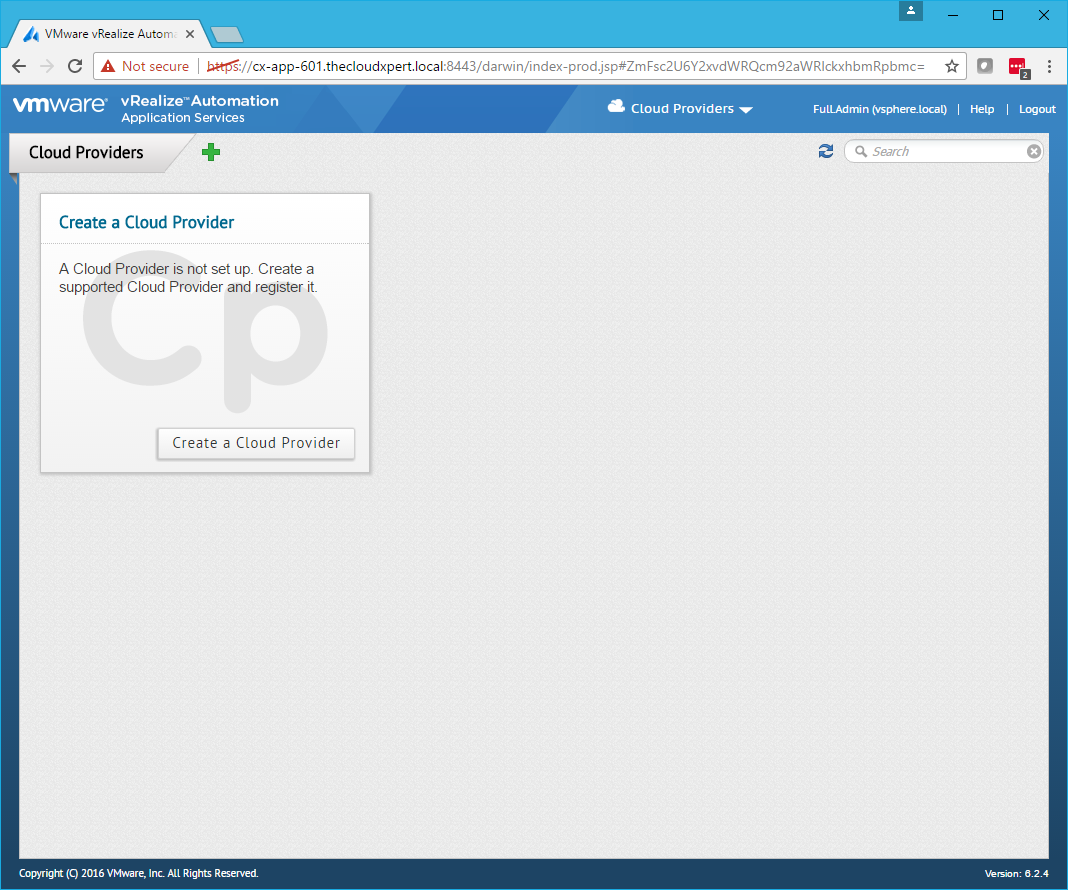
- Click Create a Cloud Provider.
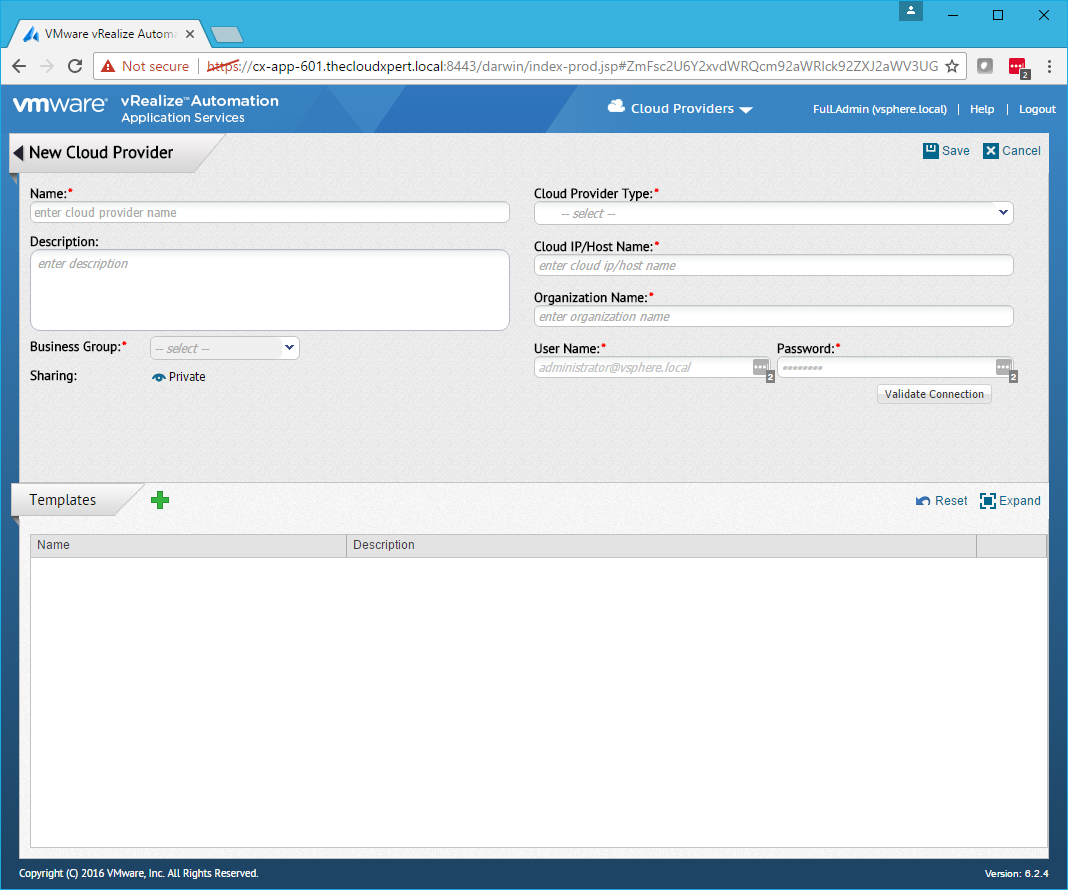
- Enter a Name for the Cloud Provider, select
vCACfrom the Cloud Provider Type dropdown.
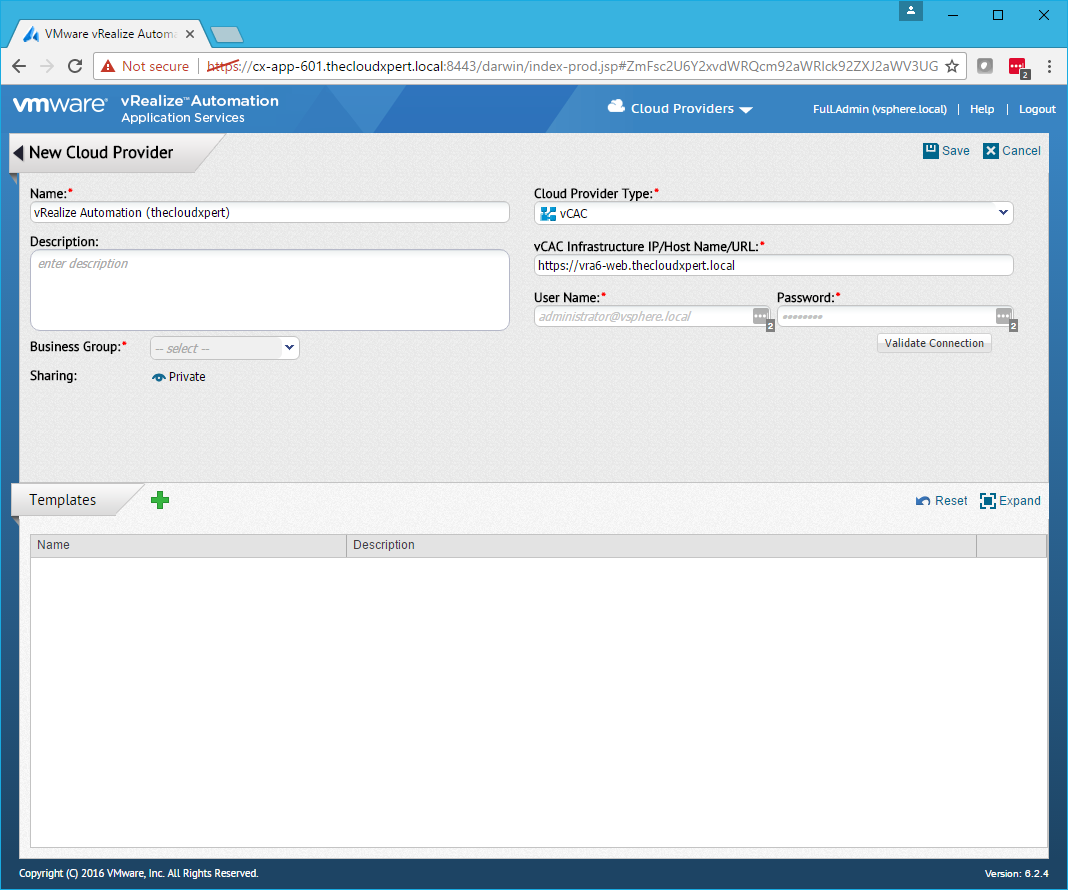
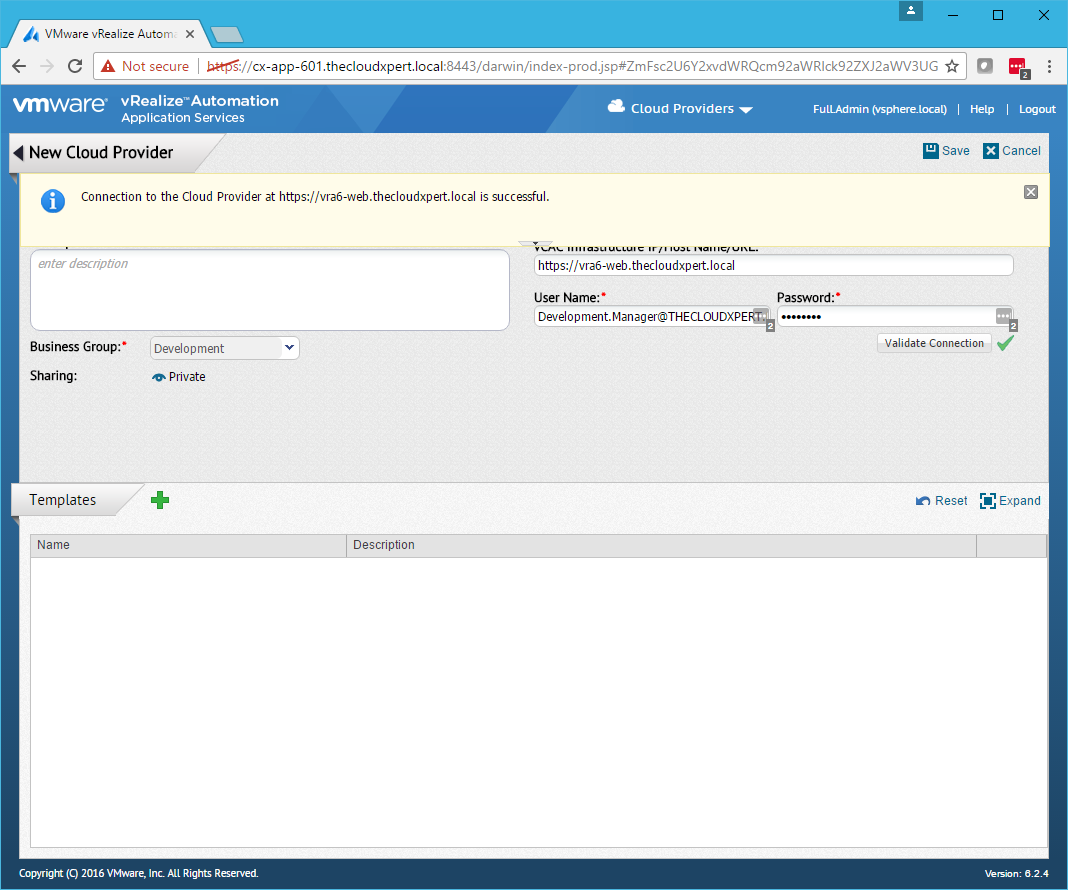
- Select the Business Group from the dropdown, type a User Name and Password and then click Validate Connection.
- Under Templates, click Add (+)
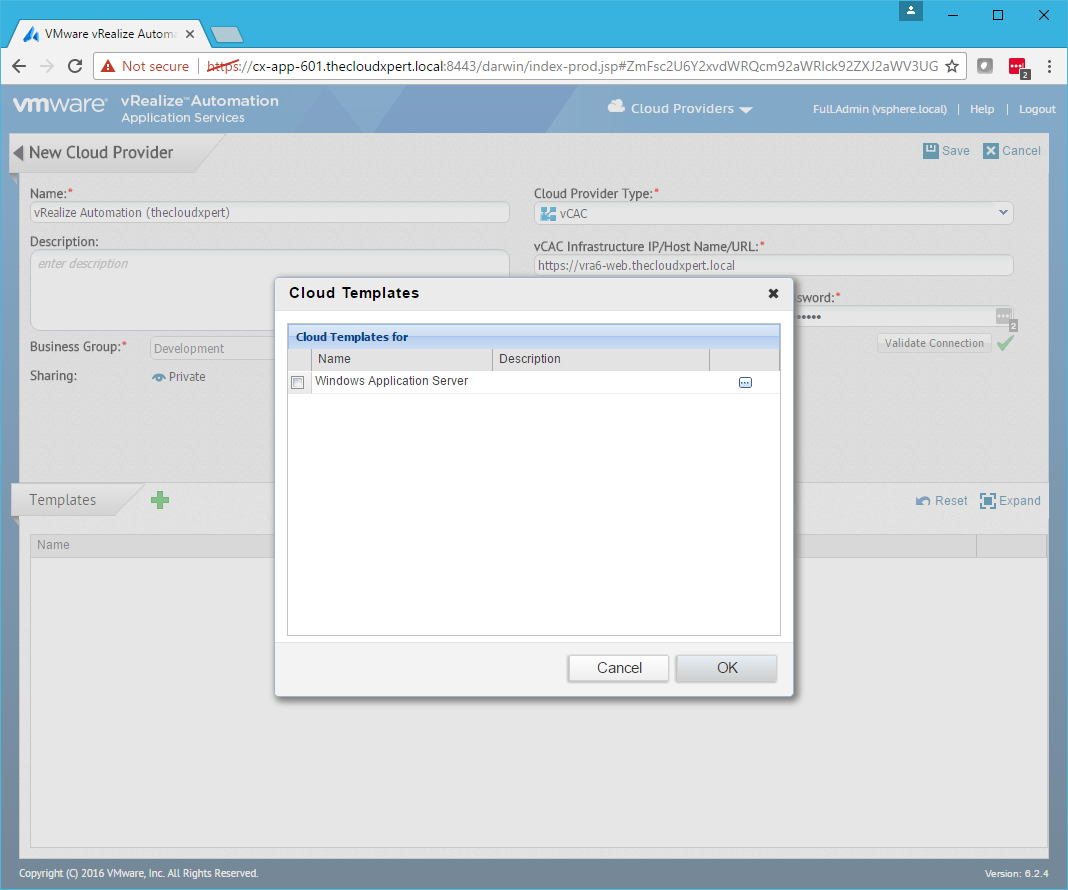
- Check the checkbox of the templates to add and click OK.
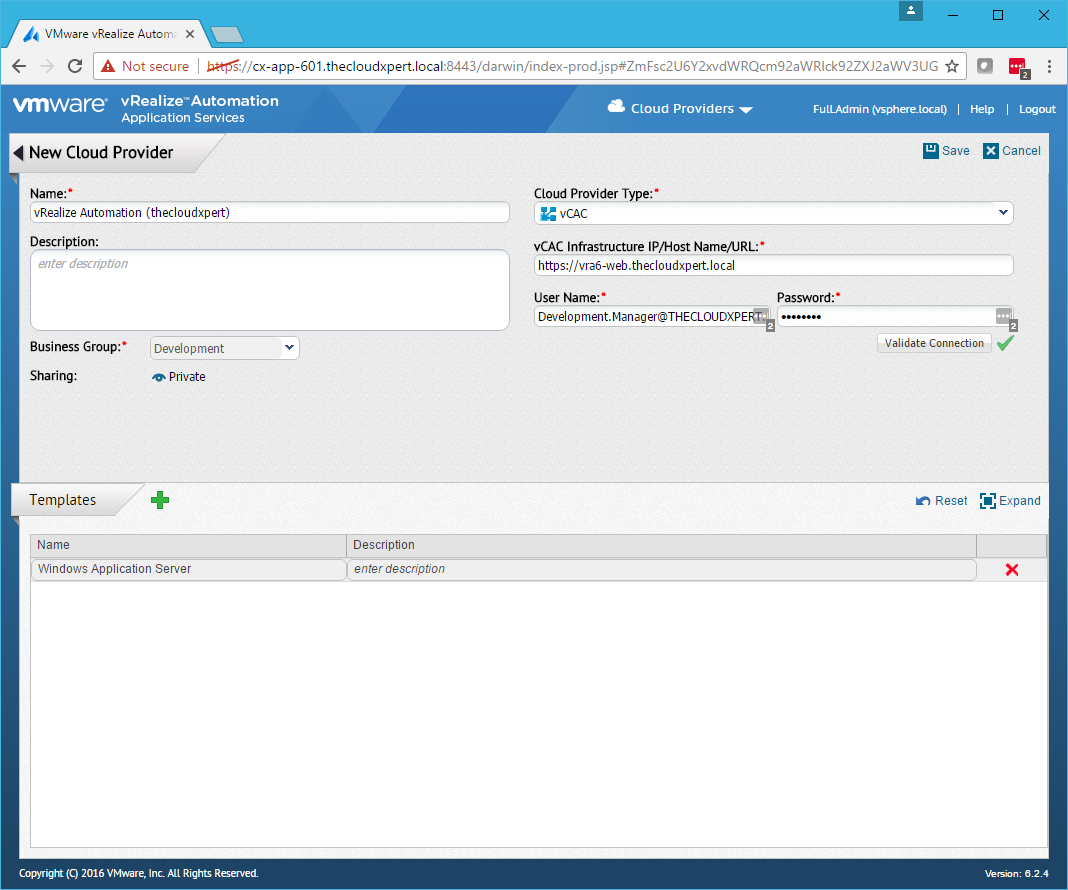
- Click Save.
- Click Logout.
Map a Cloud Template to a Logical Template
- Navigate to
https://app-services.fqdn:8443/darwin/<tenant>.
- Log in using an an account with a user with the Application Cloud Administrator and Application Publisher and Deployer role.
- Click Applications and select Logical Templates.
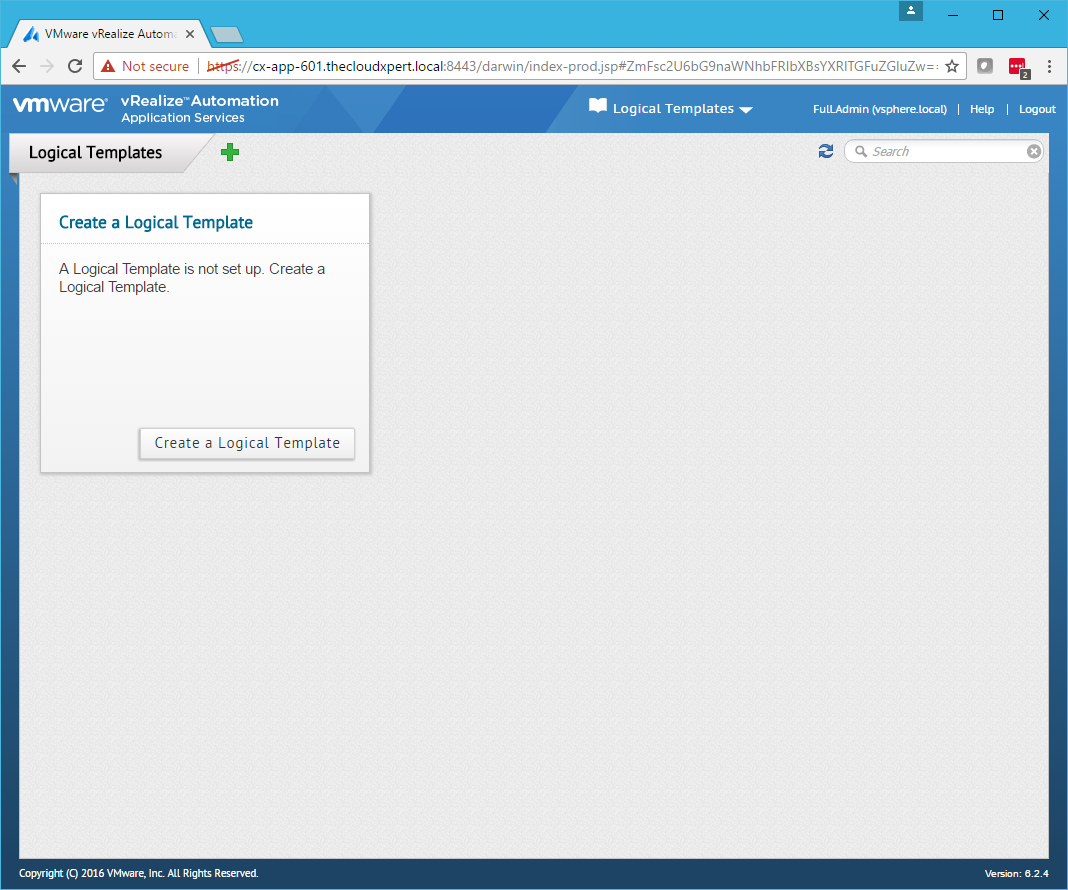
- Click Create a Logical Template.

- Type a Name for the Logical Template and select a Business Group from the dropdown and a **Sharing type (**Private or Shared).
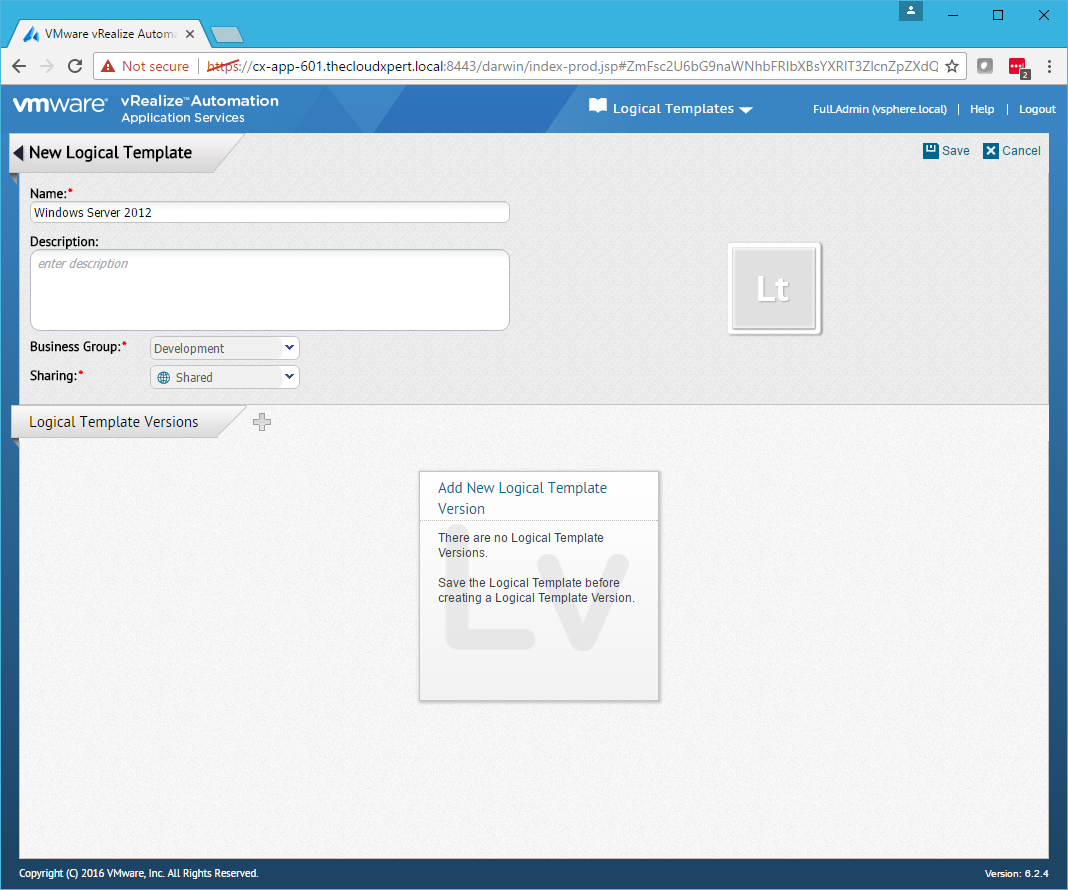
- Click Save.
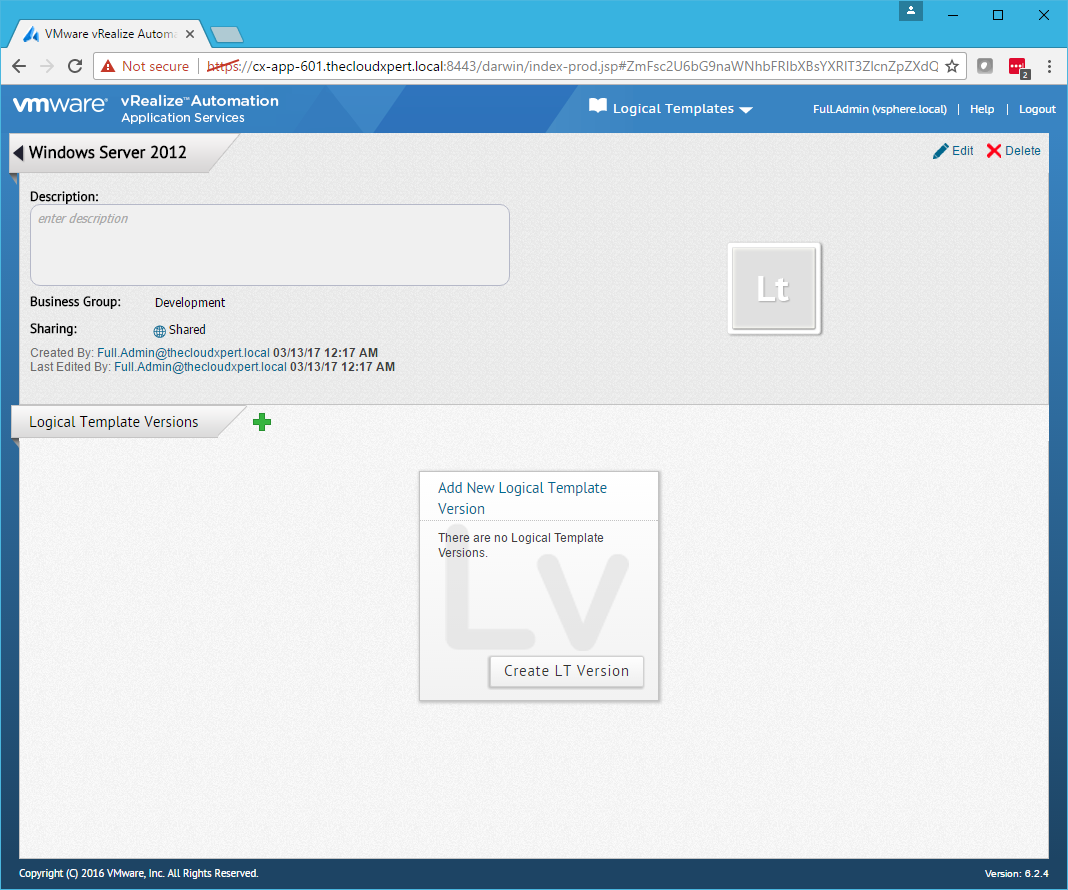
- Click Create LT Version.
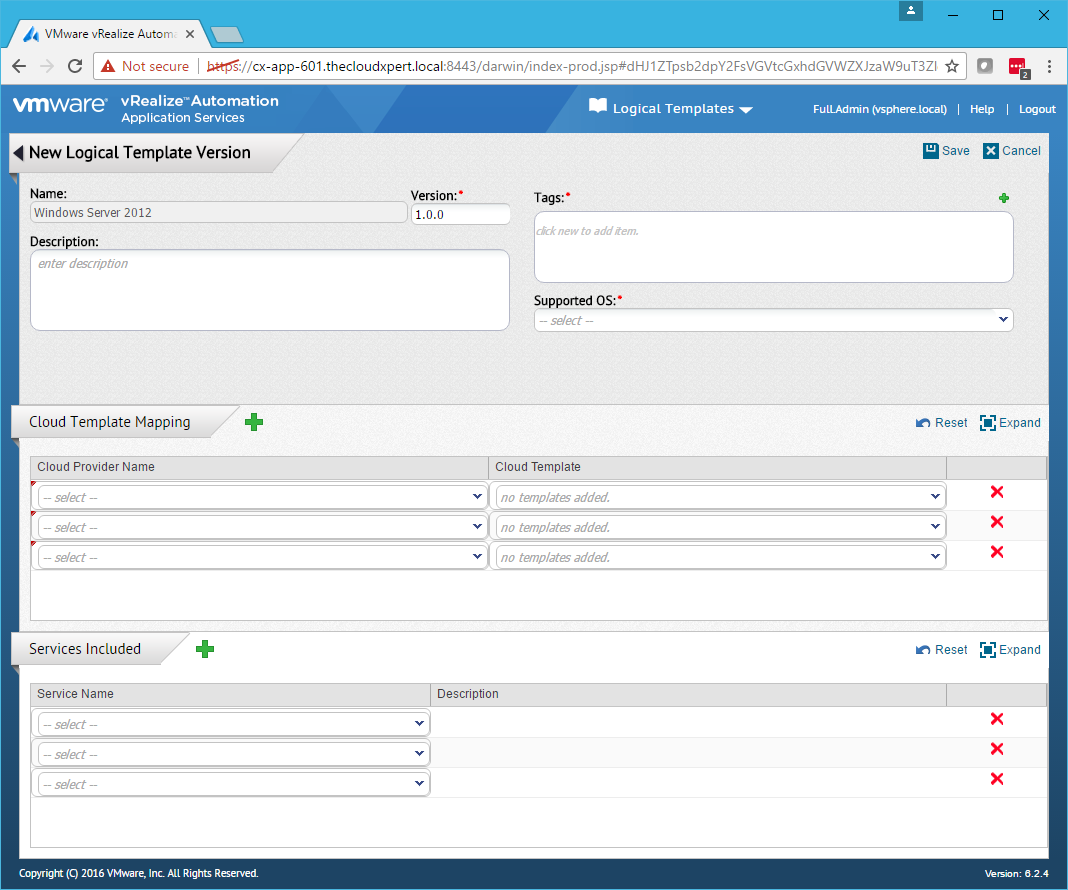
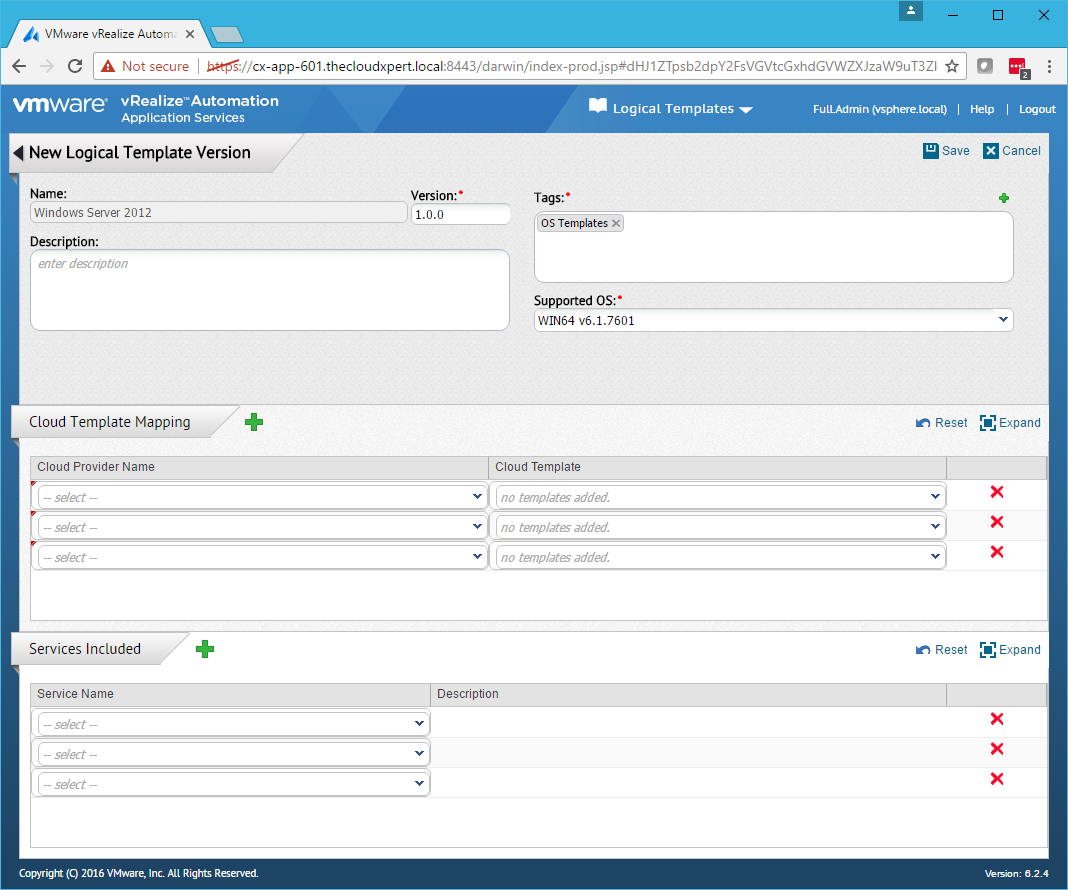
- Set a Version (which is 1.0.0 by default), click Add (+) to add Tags and select a Supported OS from the dropdown.
- Select the Cloud Provider from the Cloud Provider Name dropdown and select a Template from the Cloud Template dropdown.
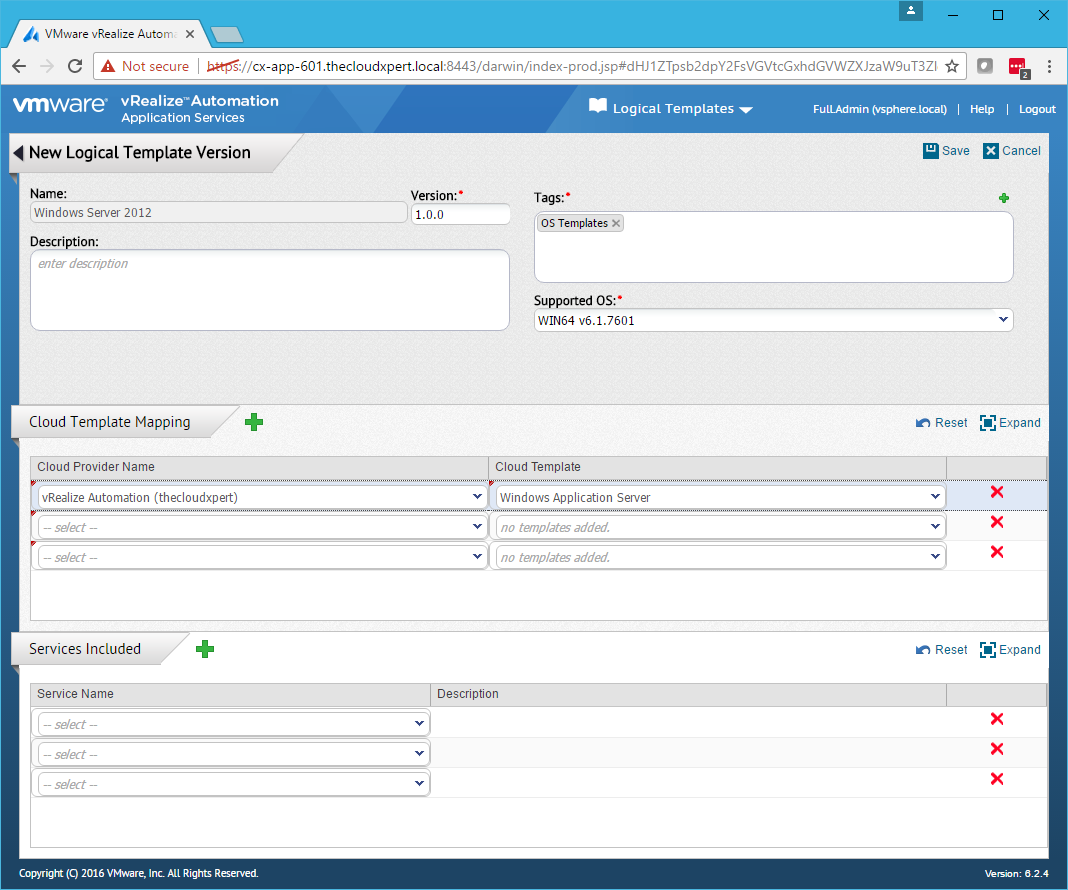
- Click Save.
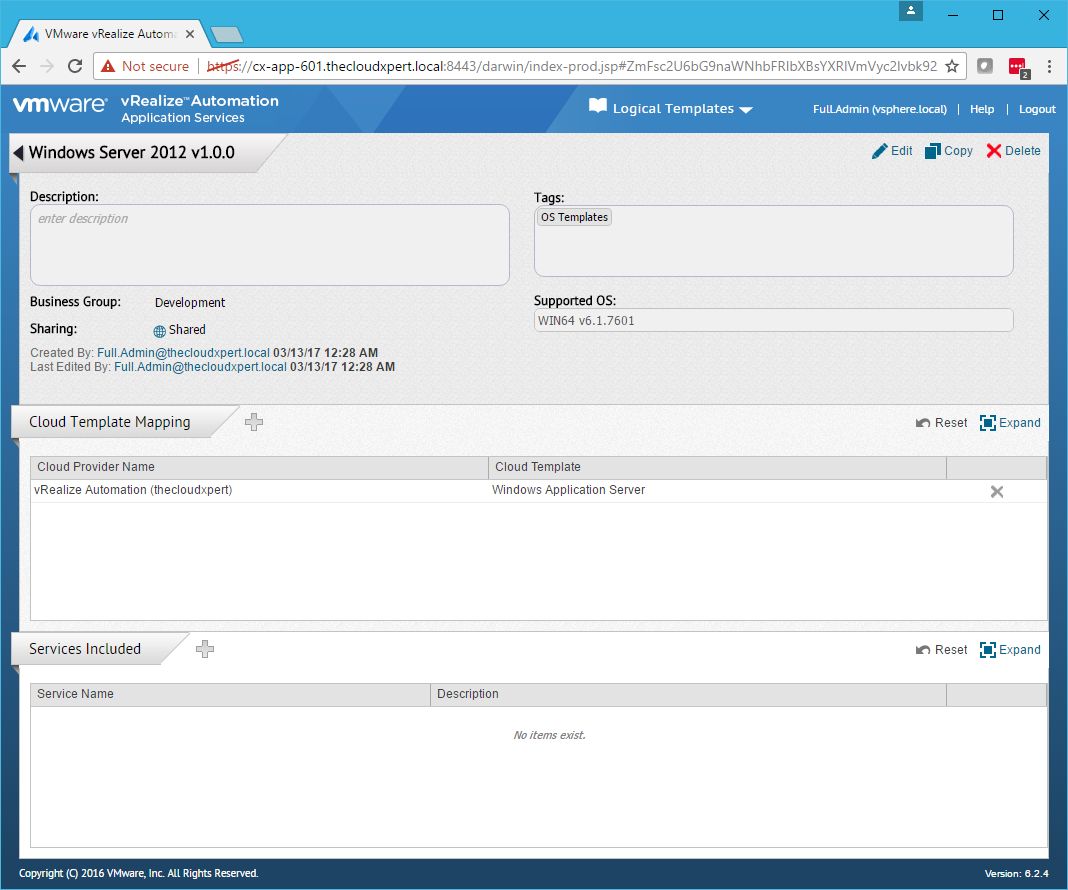
- Click Logout.
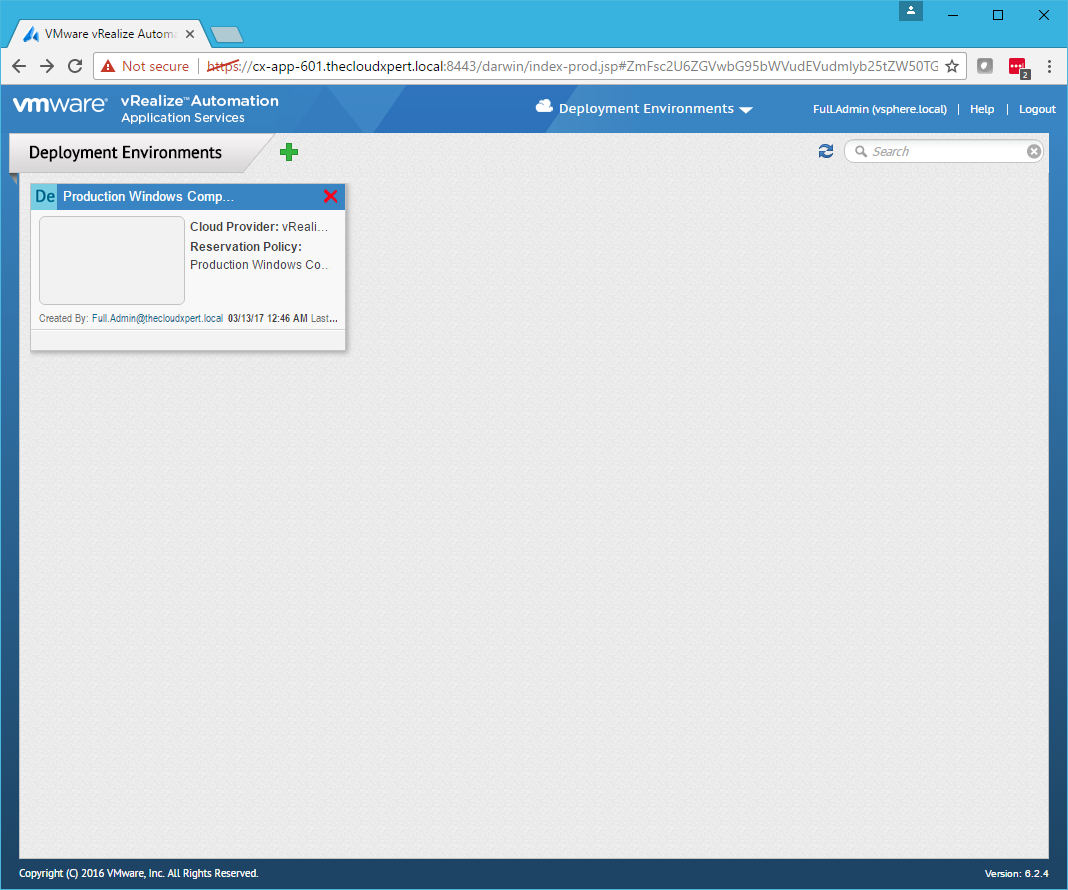
Map Application Services to a vRA Reservation Policy
- Navigate to
https://app-services.fqdn:8443/darwin/<tenant>.
- Log in using an an account with a user with the Application Cloud Administrator and Application Publisher and Deployer role.

- Click Applications and select Clouds > Deployment Environments.
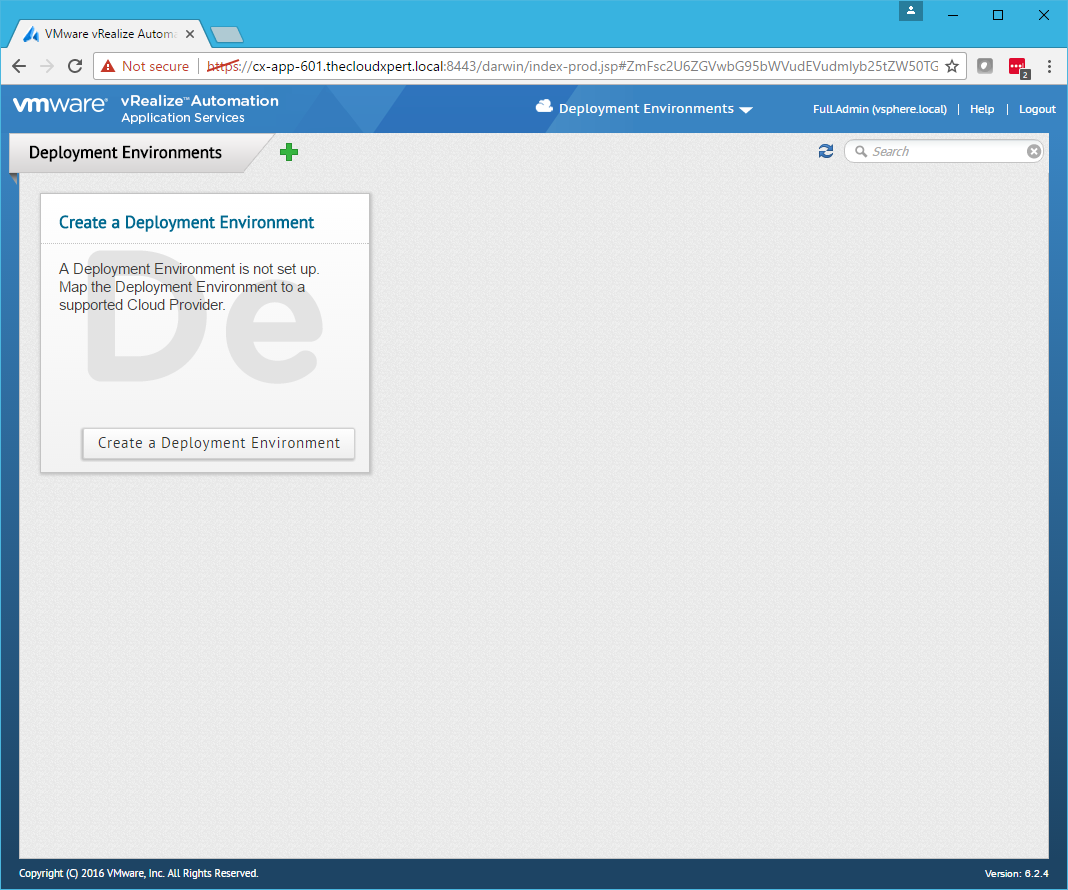
- Click Create a Deployment Environment.
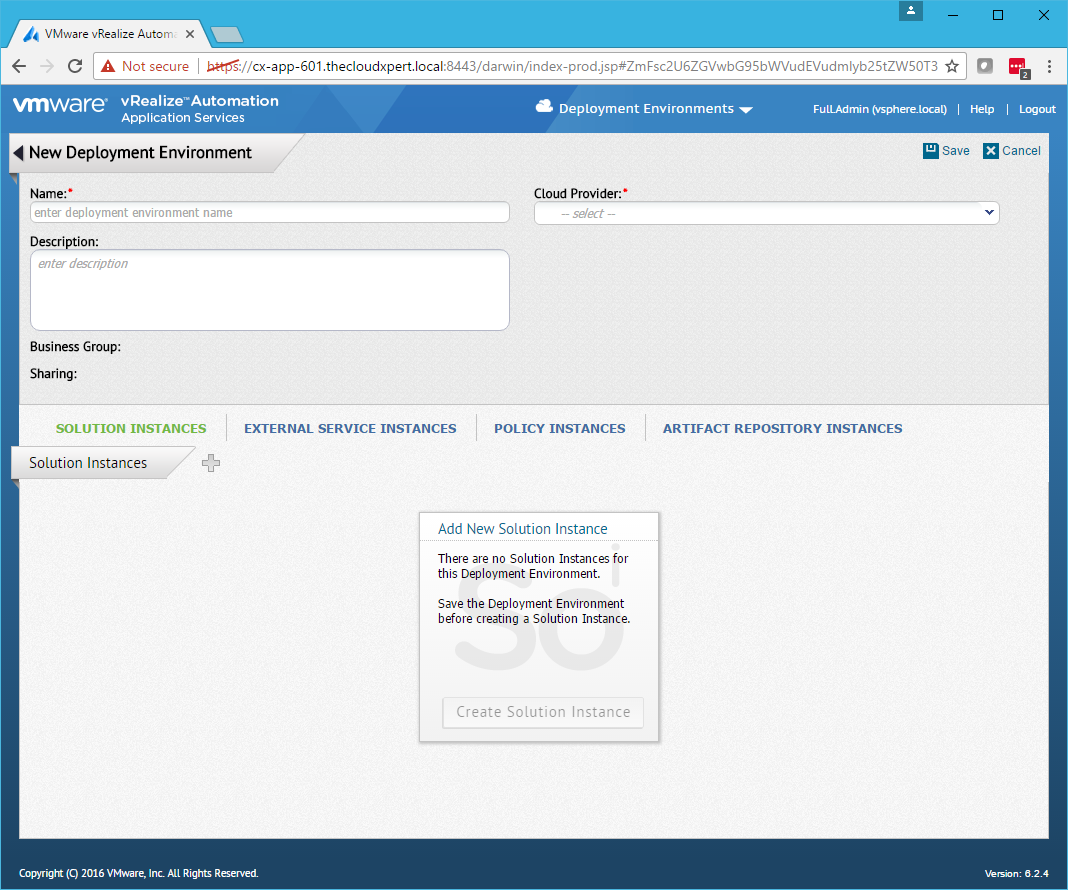
- Type a Name for the Deployment Environment and select a Cloud Provider from the dropdown.

- Click Select…
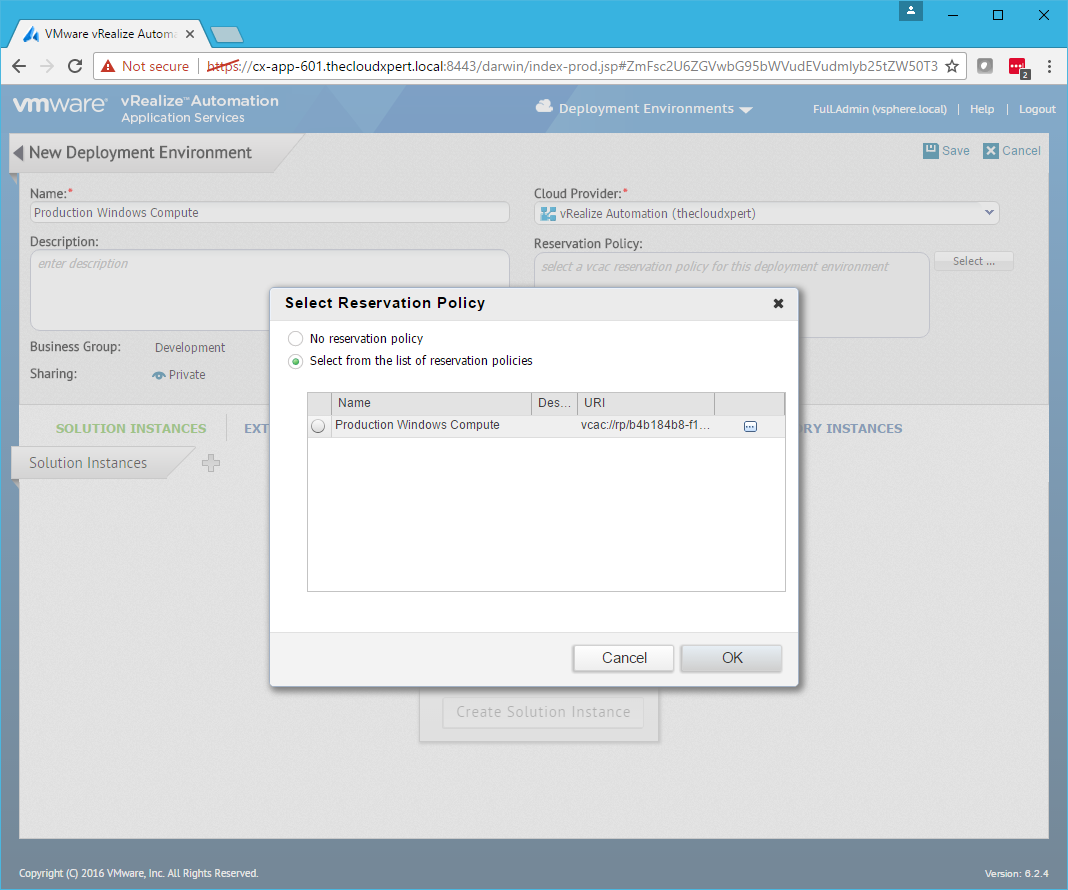
- Select the Select from the list of reservation policies option, select the target Reservation Policy and click OK.

- Click Save.
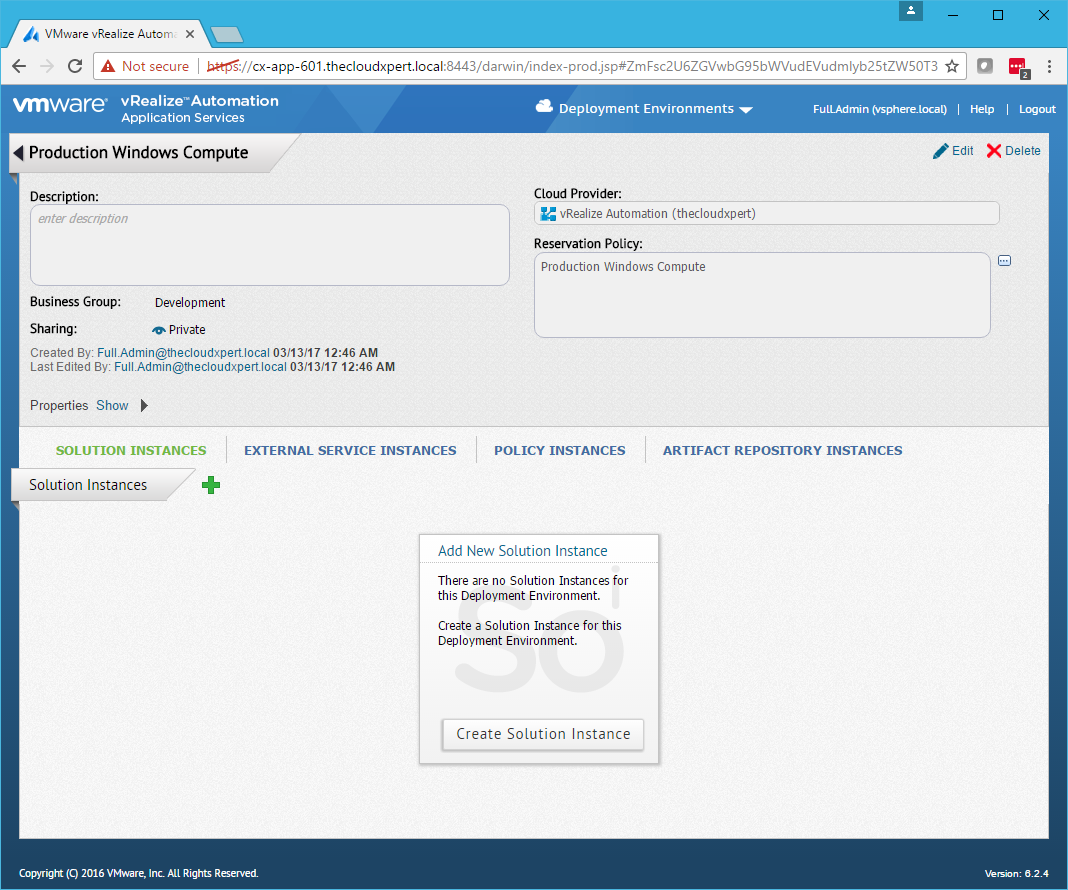
- Click Back.
- Click Logout.
Published on 13 March 2017 by Christopher Lewis. Words: 706. Reading Time: 4 mins.
- HOWTO: Deploy VMware vRealize Automation 6.x Application Services ()
- VCAP6-CMA Deploy - Objective 8.1: Deploy and Manage a vRealize Business Standard Appliance ()
- VCAP6-CMA Deploy - Objective 4.4: Import existing workloads ()
- HOWTO: Configure a vRealize Automation 6 Advanced Services Endpoint for vCenter Server ()
- VCAP6-CMA Deploy - Objective 6.1: Configure Advanced Service Designer ()